Tag Archives: Indian DIY Blog

6 Ways to use Potatoes for Skin Care

6 Ways to use Potatoes for Skin Care

6 Ways to use Potatoes for Skin Care

By Aakriti

We all desire flawless skin. While some beauty products do give us temporary results , I for one tend to stay away from chemicals. I prefer to use enzymes and chemicals present in natural foods to address my skin skin care needs.

One such holy grail product in my vanity is potatoes.
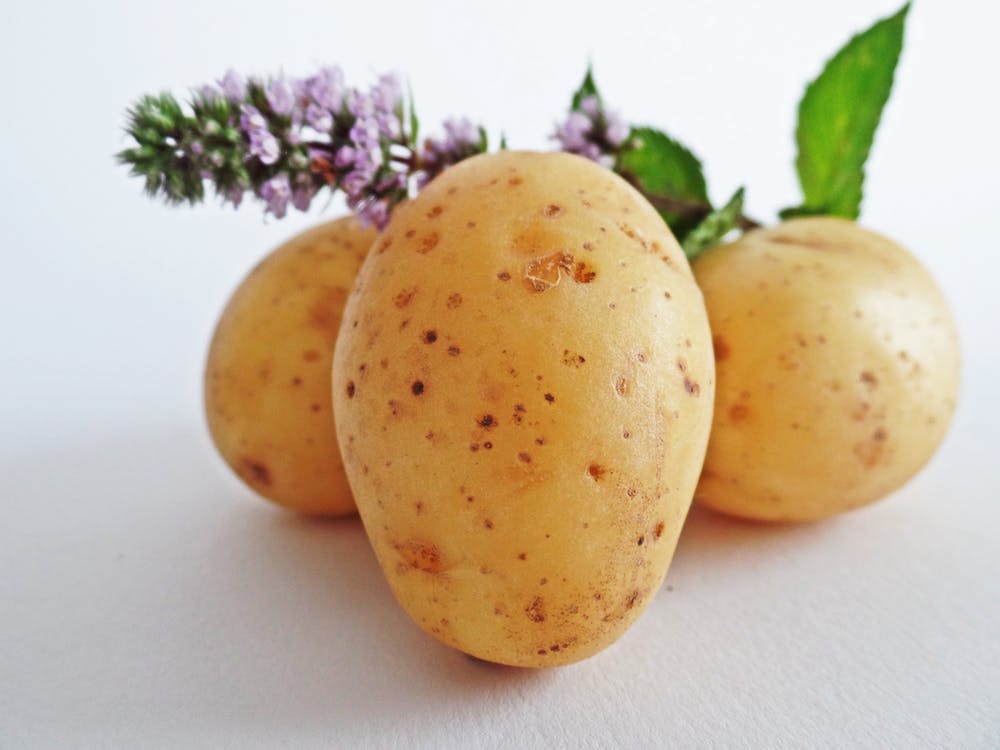
Since potatoes grow easily they are cheap as well as most likely to be organically grown. Potatoes are also packed with nourishing nutrients which can help address skin care needs if used in the proper way. Following is why potatoes are beneficial for the skin.

  • Potatoes contain potassium which helps to add moisture and hydrate the skin
  • They contain calcium which helps in healing dry skin
  • Calcium also helps to protect and renew the top layer of the skin
  • They contain an enzyme called catecholase which is responsible for reducing acne scars, blemishes and dark spots
  • They also contain magnesium which helps to fight free radicals which are responsible for causing wrinkles and fine lines
  • Topical application of potatoes provides some mild bleaching by reducing melanine production.

Below I have mentioned ways in which you can incorporate potatoes in your skin care routine-

1. For removing tan and achieving an even complexion

Cut a potato wedge and rub it in a circular motion all over the face. Let the juice sit for 15 minutes before rinsing it off with cold water. Alternatively, one can grate the potato and squeeze the juice. Apply this juice on the face and let it sit for 15 minutes before washing away with cold water.

The best time to do this is when using potatoes for cooking. This way you do not need to remember and prepare specially.

2. For treating dark circles

Grate about 1 tablespoon of potato. Apply the grated potato on the under eye area. Lay back and relax for 10 minutes. Wash with cold water. Regular application of this helps in lightening the dark circles significantly

3. Face mask for treating age spots and tan removal (dry skin)

Grate one potato and squeeze the juice from the grated potato. Mix one tablespoon of potato juice with two tablespoons of honey to prepare a face mask. Apply this evenly on face and neck. Sit back and relax for 20 minutes. You can combine this with the grated potato eye mask to use the entire potato at one time. Rinse away the mask after 20 minutes with cold water.

4. Face mask for treating age spots and tan removal (oily skin)

Grate one potato and squeeze the juice from the grated potato. Mix one tablespoon of potato juice with 1 tablespoon of fuller’s earth and 1 tablespoon of potato pulp to prepare a face mask. Apply this evenly on face and neck. Sit back and relax for 20 minutes. You can combine this with the grated potato eye mask to use the entire potato at one time. Rinse away the mask after 20 minutes with cold water.

5. Face mask for hyper pigmentation and tan removal

Grate one potato and squeeze the juice from the grated potato. Mix one tablespoon of potato juice with two tablespoons of tomato juice to prepare a face mask. Apply this evenly on face and neck. Sit back and relax for 20 minutes. You can combine this with the grated potato eye mask to use the entire potato at one time. Rinse away the mask after 20 minutes with cold water.

6. Face mask for glowing skin

Mix one tablespoon of potato pulp with one tablespoon of cucumber pulp. Add 1/2 a teaspoon of turmeric powder and 1/2 a teaspoon of lemon juice. Add in a few drops of rose water for toning. Apply this mask for a maximum 10 minutes before rinsing off with cold water.

One important point to keep in mind- After using any treatment with potatoes, avoid direct sun exposure for at least 3-4 hours and always apply sunscreen. ( This is because topical application of potatoes leads to mild bleaching of the skin)

Have you tried any of these?

P.S.: Images from Google. I don’t own these

How to Use Hydrogen Peroxide for Treating Acne

How to Use Hydrogen Peroxide for Treating Acne

By Sanchita

Acne and severe breakouts are worrisome. You have to make sure that the acne stops reoccurring time and again and also have to do something about the scars and blemishes thereafter. There are numerous home remedies, drugstore and various other products available in the market that claims to work on acne but finding that efficient one that will work on your skin is surely a gruesome task.

In today’s post, we are going to elaborate how hydrogen peroxide is used for treating acne. Also, keep in mind the side effects if you are using it in the wrong method.

WHY DO WE USE HYDROGEN PEROXIDE FOR TREATING ACNE?

Hydrogen Peroxide is mild bleach that work wonders for acne prone skin. If you are suffering from severe acne situation, this is the solution. It is anti-bacterial in nature and thus helps to kills the bacteria that cause acne and pimples. As we are all aware of the fact that acne is caused when your skin produces excess sebum, Hydrogen Peroxide works as a drying agent on the skin. It soaks up the excess oil from the skin and helps the pimples to dry out quickly.

Hydrogen peroxide loses its extra oxygen atom when applied to the skin. It takes an oxidization process which helps to create unfavourable bacterial environment, thereby stop the growth of bacteria and prevents acne. It is also helpful in peeling of the skin whereby the dead skin cells are exfoliated, revealing newer and healthier skin.

Also Read: More DIY posts HERE

THE RIGHT CONCENTRATION OF HYDROGEN PEROXIDE FOR SKIN

Hydrogen Peroxide is also found in various cosmetic products. As we have mentioned before that Hydrogen Peroxide is a chemical and it may harm the skin if you are using it wrong. The most important aspect is to but the right percentage of the product. One must never use Hydrogen Peroxide of more than 3% concentration on the skin. If you have bought more than that, make sure you add up adequate amount of water to it to bring down the concentration to 3%.

HOW TO USE HYDROGEN PEROXIDE FOR TREATING ACNE

1) To start the procedure, take off every layer of makeup or any other skin care products from the skin and wash off with a very mild cleanser. Make sure you massage the skin in circular motion with a cleanser to increase the blood circulation.

2) Next, you have to steam the face. This step is not needed for sensitive skin though. Take the steam from the boiling water (maintaining the right distance from the water container) and don’t steam the face for more than 5-6 mins. Do not pat dry the face post steaming.

3) Once the steaming is done, rub an ice cubes or splash the face with cold water to close the pores.

4) Take  hydrogen peroxide (not more than 3% concentration) and a clean and sterilized cotton swab. Dip the cotton swab in hydrogen peroxide and apply onto the affected acne areas. You may feel a slight tingling sensation. Once done, do not touch or wash the skin for some time to let the solution get absorbed naturally.

5) After 4-5 mins when the hydrogen peroxide has been absorbed by the skin, apply an oil free light moisturizer. Make sure that the light moisturizer is non-comedogenic and non-greasy.

SIDE EFFECTS AND CAUTION

  • If you have sensitive skin, consult your doctor before applying Hydrogen peroxide
  • The drying effect of hydrogen peroxide can be severe on the skin so be careful when you use and make sure you apply the right amount.
  • You cannot use this too often, it will dry out the skin.
  • The concentration should never exceed more than 3%.
  • If you experience severe itching, burning sensation, redness etc. then it is advised to stop the treatment right away.
  • Do not use hydrogen peroxide near your eyes.

Will you try using hydrogen peroxide for treating acne?