We have all been new to the makeup world some time or another and learnt everything by trial and error. One thing which comes in the mind of a person new to makeup is; affordable makeup products since they haven’t mastered any techniques and hence need affordable options to experiment and learn with.
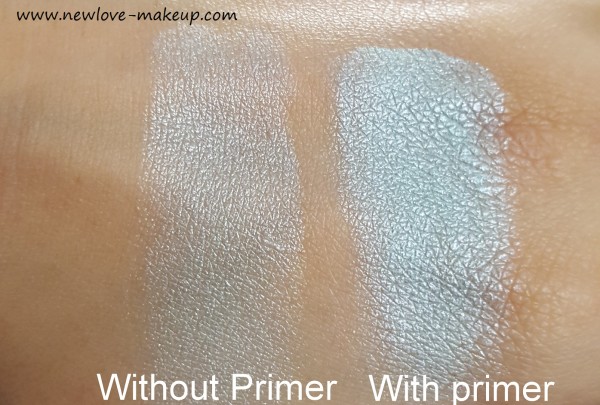
And for anyone trying their hands on eye shadows, is to get a good eye shadow primer, that should be the prime objective. An eye shadow primer acts as a base for your eye shadow, makes the pigmentation of the eye shadow more visible and helps in the staying power of the eye shadow on your lids.
However, there aren’t many affordable options available in the Indian market. When I started using eye shadows, there were barely any primers available, even the costly ones.
So, I DIY-d my very own eye shadow primer and used it for ages till I got an actual eye shadow primer from the market. Hopefully, this will help anyone new to makeup or someone who wants to save some bucks on an eye shadow primer.
It consists of basic things which we all have lying around anyways. It works the same as any eye shadow primer in the market would.
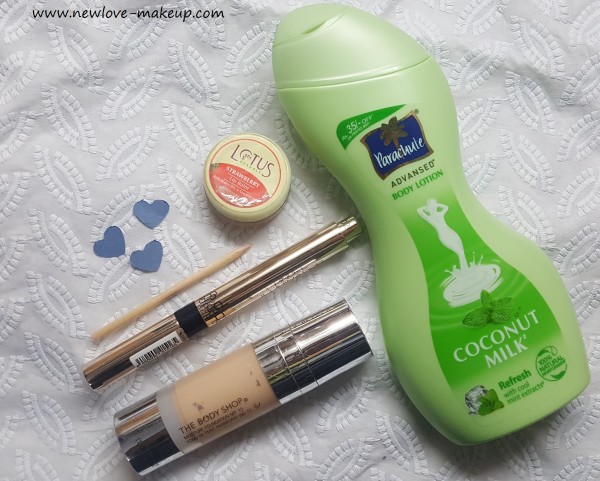
What you’ll need:
Foundation
Concealer
Body Butter or Thick Moisturizer
Empty and Clean Tub
Toothpick
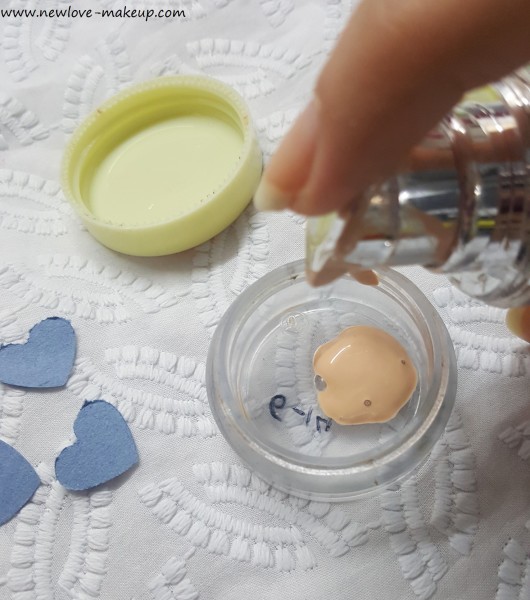
Starting with, you’d want to sanitize the tub you want to keep your primer in. I have used this old lip balm tub and sanitized it. You can even buy empty tubs similar to these online.
Step1
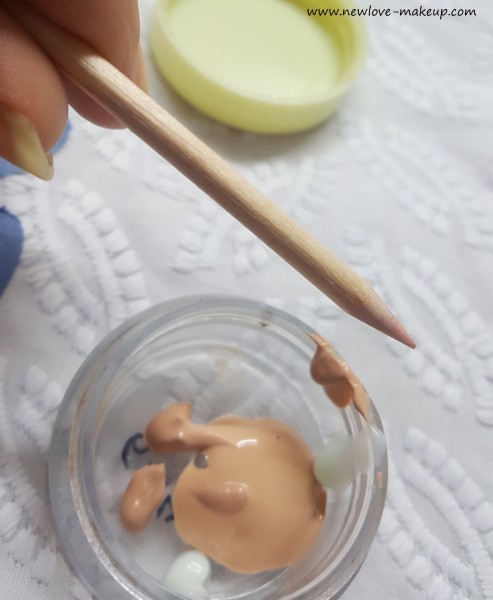
Initially, you want to pour some foundation in the tub, the foundation is the base of the product so you should use the most of it depending on how much eye primer you want to make. I am using this Foundation by the body shop in my eye shadow primer.
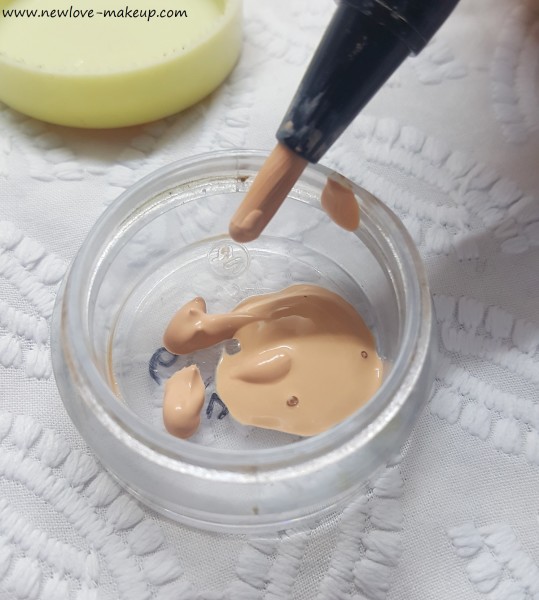
Step2
Next, put in a little concealer, use it lesser than the foundation, half than how much foundation you used to be precise. It will help in adding that little brightness in your eye shadow primer. I am using this Deliplus concealer I had got from Spain.
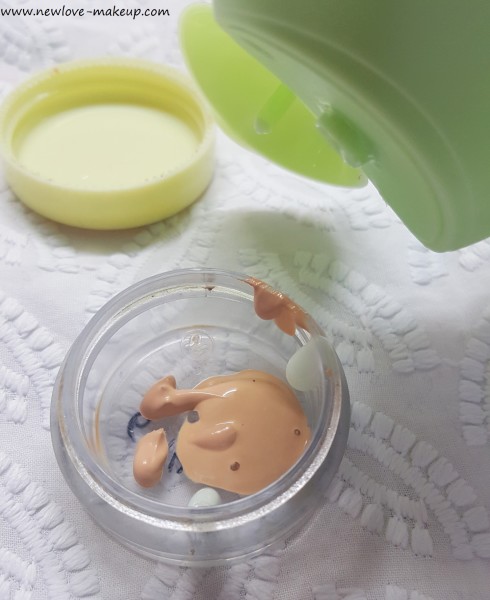
Step3
Finally, put a bit of body butter or thick body lotion, you shouldn’t use a light/thin consistency moisturizer since it would make the consistency of your eye primer runny.
The ratio of the moisturizer/body butter should be same or teeny less than the concealer. What the moisturizer does, is to retain the moisture on your lids underneath all that eye shadow. I am using this parachute body lotion.
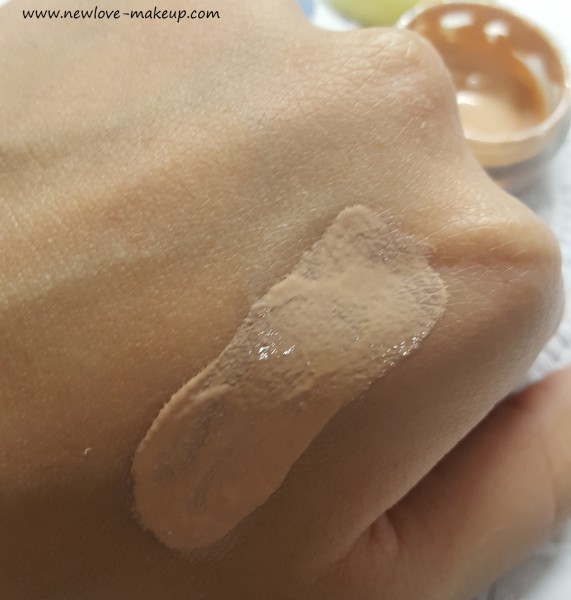
The ratio you want to work in is 2:1:1 that is 2 parts foundation, 1 part concealer and 1 part moisturizer.
Step4
Mix it well with the help of a toothpick and store it away well. Always use a brush to apply the product to avoid spreading any germs and always pat some powder on top of the eye shadow primer to help it not to crease.
I wouldn’t really recommend making huge batches of the eye shadow primer. Make a batch that’ll not last you more than 1-2 months. You require a really small amount for each use.
Done
I have used this eye shadow primer for more than 8 hours and it lasted me without creasing or fading my eye makeup.
Editor’s Note: That sounds like a good eye primer. I would also recommend adding a little glycerine in place or addition to the body butter, just a tiny amount.
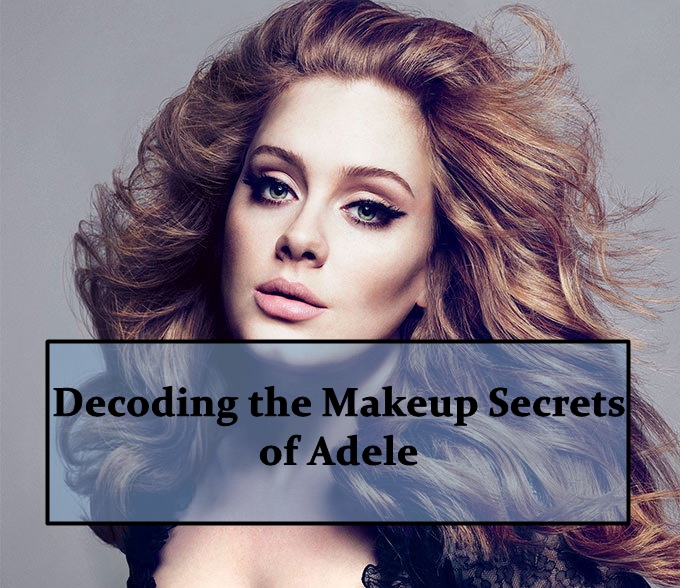
When I think of Adele the only two things that crosses my mind are the deepest ballads and feline eyeliner. I mean, that is the thickest, precise and deepest eyeliner I have seen. No matter what product I have used so far, I simply couldn’t get that look. Thankfully, a couple of months back Adele’s Makeup artist Michael Ashton, who has been working on the singer’s hair and makeup for nine years shown in a YouTube channel of MUA Lisa Eldridge. There was so much to learn from him and I loved the way he had shown the makeup tutorial. So, gathering the most important points from there, I have decoded the makeup secrets of Adele and here’s what you need to know.
Preparing the Skin
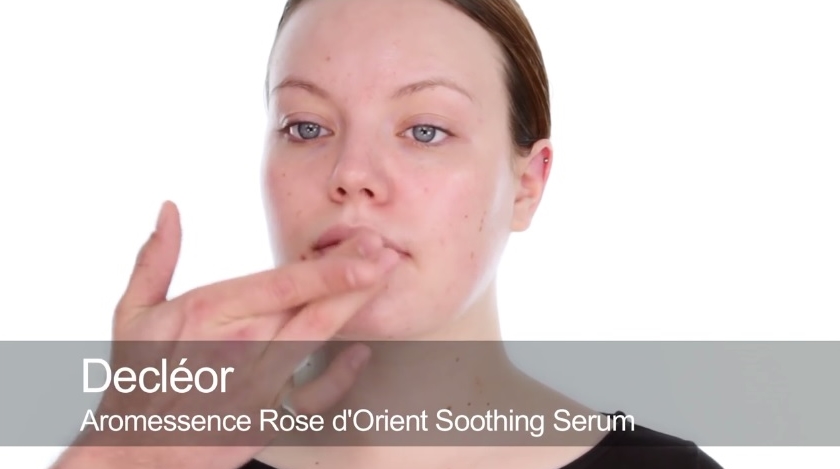
Makeup artist Michael Ashton starts prepping the skin with a damp facial tissue soaked in Bioderma Sensibio H2O to wipe off any layer of residual makeup, dirt, grime etc. He advises to use a facial gel or oil kind of product to plump up the skin and hydrate it well enough for the foundation to look flawless. He used a rose facial oil I believe to plump up the skin and which also gives a natural strobing effect without looking greasy, sticky or oily. His favorite product is Aromessence Rose d’Orient Oil Serum for pre foundation technique.
Eye Makeup
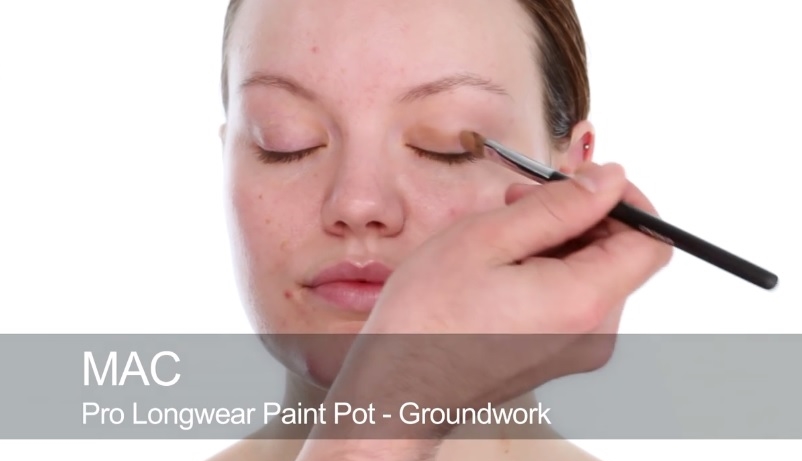
He started with a base product which act as a base for eyeshadow as well as primer. He used the MAC Paint Pot Groundwork all over the lid and then soften the crease using a blending brush. He also applied the same pain pot in the lower lash line to give a shadow sort of. Then used the two lightest shade (a golden bronzy light color) from the Tom Ford Nude Dip Eye Color Quad all over the lid and smoothened the line as well. This gave a nice reflective kind of pale look to the eyes, you can also call it neutral.
Infamous Feline Eyeliner
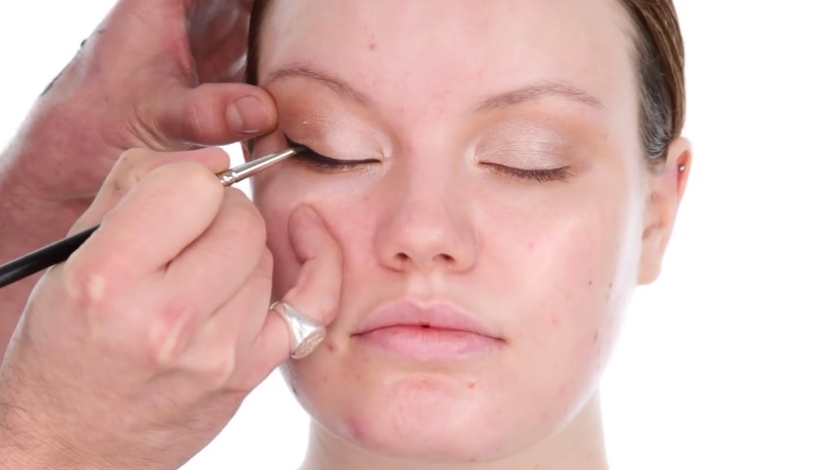
The secret behind that gorgeous feline liner are the gel liner, eye liner and fine liner brush. He uses the Bobbi Brown Long Wear Gel Eyeliner in Black Ink on the back of your hand and then start drawing a line (as close as you can to your lash line) from the middle of your eyes working it outwards, using a very fine liner brush. Then, he makes the feline stroke giving a cat liner effect. He repeated the lines at least 6-7 times which thickened and deepen the color even more. Ashton states that you can use a cotton bud dipped in Bioderma Sensibio H2O to wipe off any mistakes. After the mascara, he goes back to the eyes, this time with liquid eyeliner, that is, MAC Liquidlast Liner Point Black. He said that he uses a liquid liner with a tar consistency and a fine brush to do a final eyeliner swipe. This builds up intensity and gives a nice depth to the eyes as well.
Dramatic Eyelashes
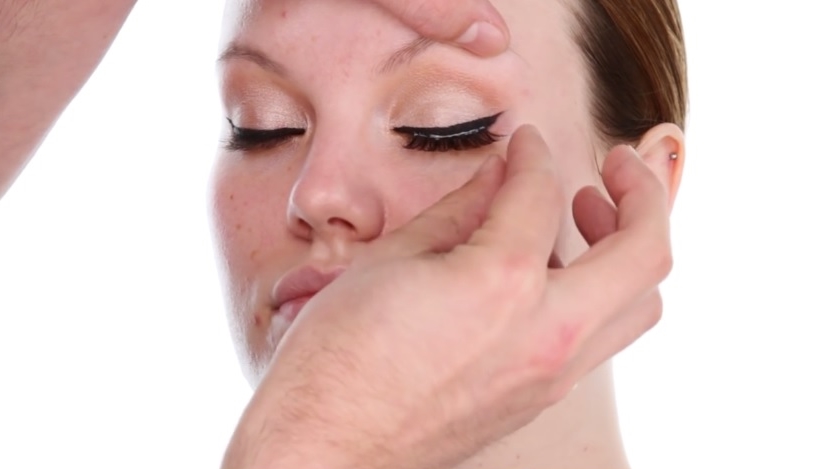
For the lashes, he used a falsies using Duo lash black glue which gives a well-defined matte charcoal finish. He used a gentle upward lifting motion with the fingers to blend in with the natural lashes. Next, he applied the Diorshow Mascara for the upper lashes. For the lower lashes, he used a small fan brush and started from the roots which would give a better smudged kohl effect. He stated that it won’t matter if the mascara goes a little bit onto the waterline as long as it doesn’t sting.
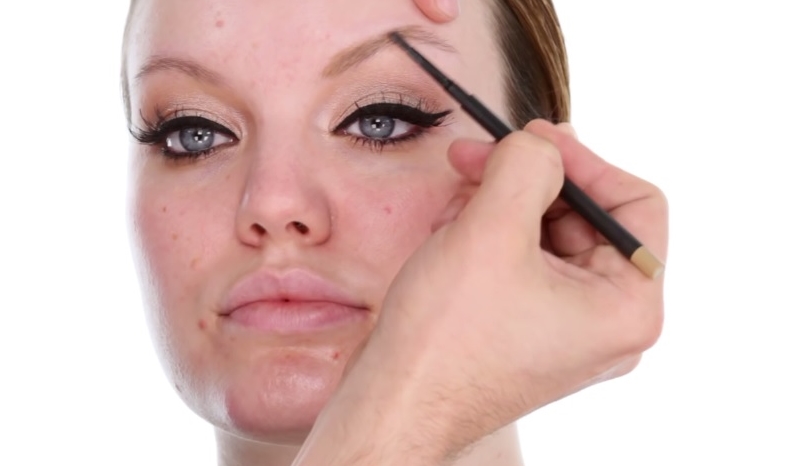
Strong Brow Game
Before stating the eye makeup, he used a spoolie to brush the eye brows. Then used a soft brow pencil to shape and define them. Clean up the top of your brow using a moisturizer on a small concealer brush and swipe it across the brow. To set the pencil he used a light mix of four brown shades – MAC Concrete, Coquette, Corduroy and Wedge and applied as the brow powder.
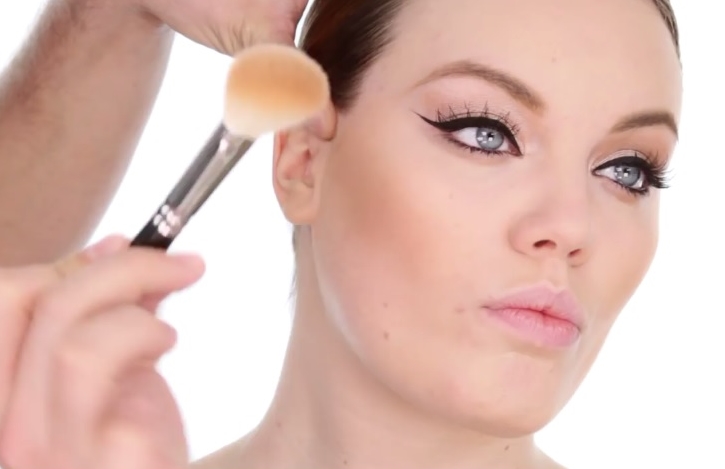
Foundation
For the foundation he used Estee Lauder – Double Wear Light and mixed the shades 1.0 and 0.5. He used the lighter shade on the T-zone and inner portion of the face while the darker one in the outer perimeter. He specifically stated that the foundation must be applied on the jaw line and below i.e. towards the neck. This will surely give a nice, smooth and even look. He sets everything with a fine milled compact powder. For the under eyes, he uses the Tom Ford Illuminating Highlight Pen and blends it with a brush.
Contour
For the contour also, he uses a powder palette which is the Smashbox Step by Step Contour Kit and mixes the first two colors for the cheek bones. He basically says that a fish face helps to make the contour precise and smooth. He uses an angled blush brush for the contour and applied for the forehead, sides of the nose and jawline. For the blush, he loves the Maybelline cream blush which works really great for blending.
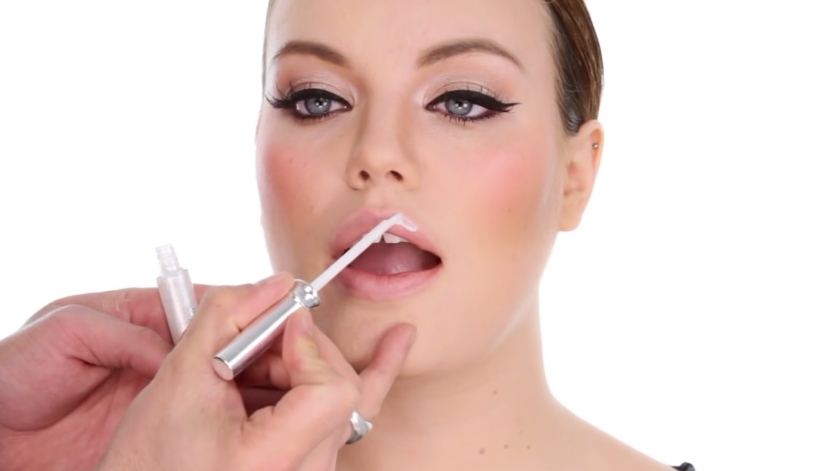
Lip Trick
For the lips, prep and prime the lips with a nourishing lip balm to hydrate the lips well. Then, he used a neutral lip liner to outline and fill the lips slightly. Use a finger to pat and blend the lip liner with the lip balm to give a nice and even neutral look to the lips. Use a shimmery gloss to apply on the centre of the lower and upper lips and blend well. This would give a nice plump effect to the lips naturally.
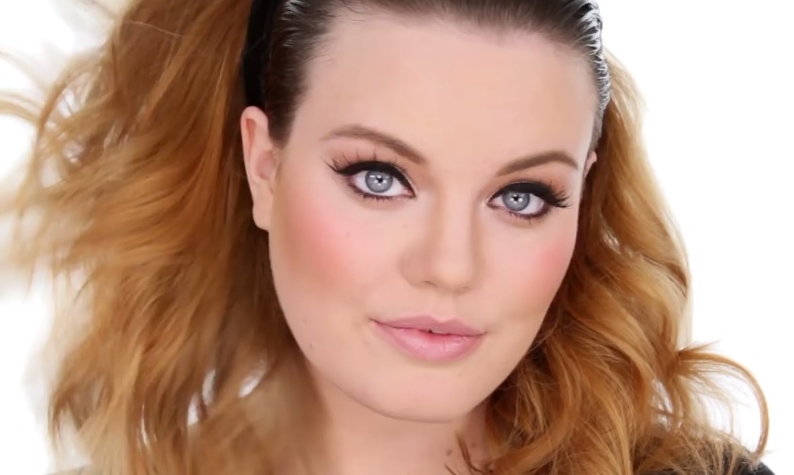
These are the secrets of Adele’s flawless feline makeup look and I really hope this would help you guys to recreate her looks easily.
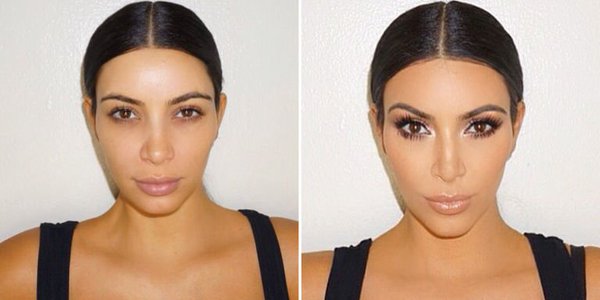
I had real fun decoding the Kylie Jenner Makeup Tips, so after going through several teaching sessions, YouTube tutorials, interviews and Instagram posts of Mario Dedivanovic (Kim Kadarshian’s favorite makeup artist) I was so determined to do this post on Decoding Kim Kardashian Hair and Makeup Secrets.
Kim Kardarshian is famous for her contour, nude lips, smokey eyes and the list go on and on. No doubt we love every bit of her makeup and her luscious hair styles. So, want to know the secret tips behind her flawless outlook. I am sure the tips and tricks will simply amaze you. So let’s explore the details.
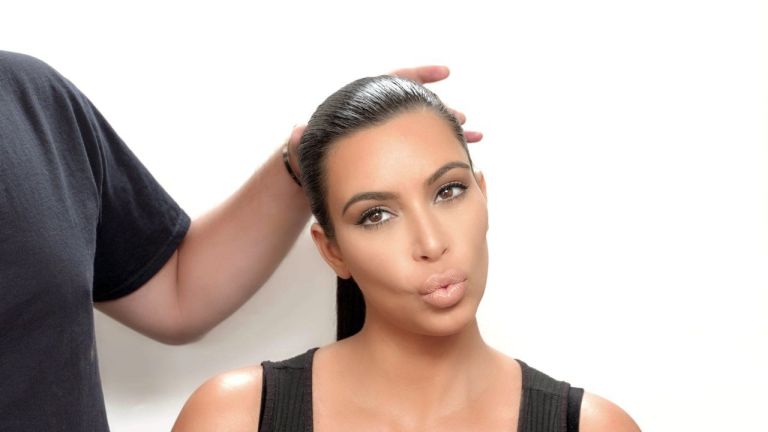
Makeup before hair – Yes, do you makeup first and then the hair. This is because the hair spray might leave behind its residue on the face which will make the application of the foundation slight difficult. Also, if you are going for a bouncy curly look, you have to back comb and tug it so that it stays away from the face while applying makeup. All in all, do your makeup first and then go for the hairstyle.
Skip the primer – When possible makeup brand came out with their version of primer and beauty bloggers vouching for the primer which ‘apparently’ helps smoothening the foundation and keeps it in place, Kim’s MUA Mario Dedivanovic says primer is totally optional and there is no harm at all in skipping it. He says so because loading too many products one after another will only make you oily, especially in humid weather. So next time you decide to splurge of the expensive primer, just don’t.
Emollient moisturizer – An emollient moisturizer is one which hydrates your skin, smoothens out your pores and provides a nice base to your foundation. This is why you don’t need a primer separately. Too many products will do more harm than any good and therefore to minimize the buildup of products between the skin and foundation, simply use a moisturizer. Kim Kardashian’s favorite moisturizer is Kiehl’s Ultra Facial Cream which acts both as primer and moisturizer. Therefore, invest in a good moisturizer instead of too many products.
Beauty blender – From Kim Kardashian, Mario Dedivanovic, Kylie Jenner and all the possible celebrities and their MUAs have vouched for the goodness of Beauty Blender. Well, sadly Beauty Blender isn’t easily available in India (there’s also a lot of speculations about fake Beauty Blender sold online) and even if you badly want to have it, you have to pay a huge amount for a sponge. Therefore, the cheapest solution was given by Bhumika, the PAC’s Beauty Blender (a very similar one) which is efficient as well.
Master handling the puff – Kim’s MUA Mario Dedivanovic states that it is important to hold the powder puff while application. Put two fingers into the loop on the outer side and slightly press over the desired area. In general we always use the powder brush for baking and applying translucent powder, but Mario states that puffs are lot better in efficiency. It helps the powder to adhere well to the makeup, blurs out the pores and prevents the cakey application to a large extent.
Strong brow game – Brow game is something we all agree with. It defines the eye makeup and gives a neat and clean appearance to the makeup look. Well, to make this game stronger, Mario uses two colors to define the eye brows. Use a lighter color in the inner corners while a darker one on the outer portions. This will create a pretty strong ombre effect and brings out an appealing look.
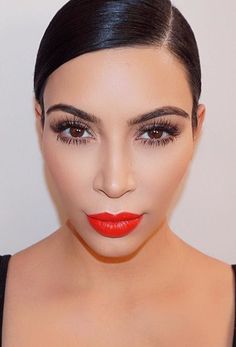
There’s nothing called too many eyeliners – Mario applies more than four layers of eyeliners on Kim. He states that it will give your eyes a “beautiful definition and look more expensive”. Well, we got the trick. He first applies an eye pencil as the base, then another eyeliner, followed by the liquid liner and finishes off with gel or crème liner! Phew! That’s a lot. I once tried that at home and I was really astonished to see the beautiful effect it creates. If you are a deep kohled or dark eyes lover, you have to try this out.
Bake the dark circles – Baking is easy-peasy and all you have to do is apply concealer/color corrector/foundation and simply dab powder and let it sit for around 10 mins or so to let the natural heat from your body set the powder. After that simply dust off the excess. Baking is generally done on the areas we highlight i.e. under the eyes, chin, forehead, etc. Mario uses the baking technique mainly for covering the dark circles. This works excellent and does a double duty of highlighting as well as concealing.
Contouring isn’t everything – When I first read this one from Mario, I was like ‘What!’ This particular statement coming from Kim’s MUA whose middle name is ‘contour’ is surely a big deal. Well, he believes that contouring isn’t everything and you can still look equally photogenic without it. The extreme contouring videos we see from YouTube and Instagram aren’t essential for makeup. Nevertheless, if you want do this, there is no harm in making the features sharp.
Double highlighter – Mario stresses on the fact that to have that flawless look, highlighter is the key. Yes, of course blush, contour and everything else is there but highlighter is something that gives you the neat look. He applies double layer of highlighter on Kim. Firstly, he applies a brightening yellow powder like Ben Nye Banana and then some shimmery or frosty powder ones to add that ultra-strobing effect. And then finishes off with golden for that warm glow.
Stunning eye lashes – Kim uses a nice voluminous mascara on the natural eyelashes first after curling them. Then she uses individual falsies (longer on the outer portion, shorter on the inner one) and finishes of with another coat of mascara to adhere the falsies to the natural lashes. God! No wonder her smoky eye is so flawless.
Makeup removal – This is a very common tip vouched every now and then and Kim also swears by it religiously. It is so important to remove every trace of makeup when you are going to hit the bed. Residual makeup has some nasty side effects like pimples, infection, allergies, discoloration, pigmentation and the list is totally endless. Use a good cleanser or baby oil to wipe off every layer of makeup from face, eyes and also lips and wash off with a mild face wash or whatever suits you best.
Stop shampooing everyday – While you have heard it that to keep our hair clean you have shampoo every day, Kim says don’t. Regular shampooing will ruin the hair and strip off the natural oils. She prefers a blowout on the first day while on day two she goes for messy buns, curls and waves. On day three, when the hair starts to get flat due to the natural oil of the scalp, she straightens the hair and tries out sleek hair styles. In this way, the straightening doesn’t damage the hair as well. On day four it is ok to wash the hair. Kim uses Moroccanoil and Carol’s Daughter Monoi Hair Mask to make the hair soft.
Skincare – According to her, skin care is the primary step where you actually have to work hard. No amount of cosmetics will save you if your skin behaves badly. This is why regular skin care routines, clean up, healthy diet and lots of water is required.
Makeup brushes – the last tip from her MUA is the cleaning of makeup brushes, which is another important hygienic requirement for makeup. Mario uses Tea Tree oil to soak the brushes and then washes in a concoction of water and baby shampoo. Baby shampoos are gentle and hence doesn’t make the bristles rough while tea tree oil ensures that every layer of residual makeup is removed and also it is anti-bacterial.
Editor’s Note: Those were some very nice tips Sanchita. I skip primer majority of the days and shampoo every 2-3 days, so following some here 😀 And beauty blender indeed gives a beautiful effect. I am definitely trying layering the eyeliner and light and dark shade for eyebrows.
Did you like Kim Kardashian’s makeup secrets? Do you follow these? Know of any, you would like to add? Do let us know in the comments below.
Decoding Makeup Hacks Of Kylie Jenner to Get the No-Filter Look
By Sanchita
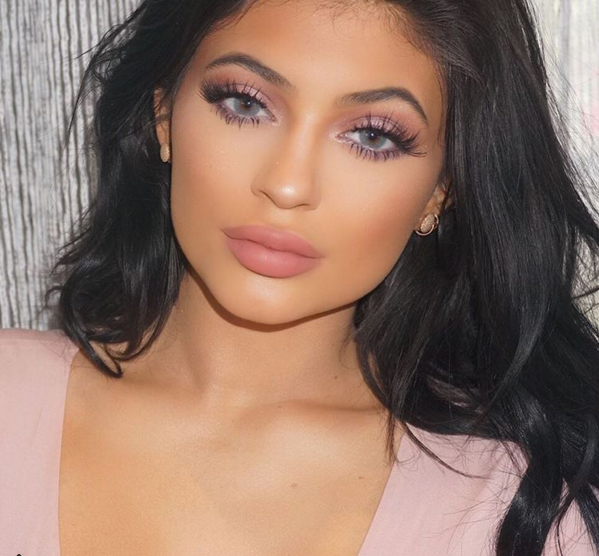
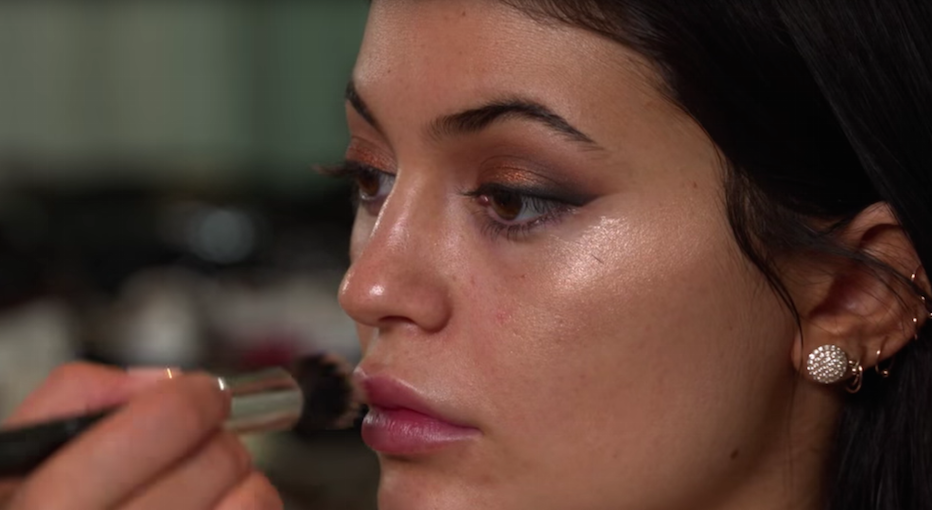
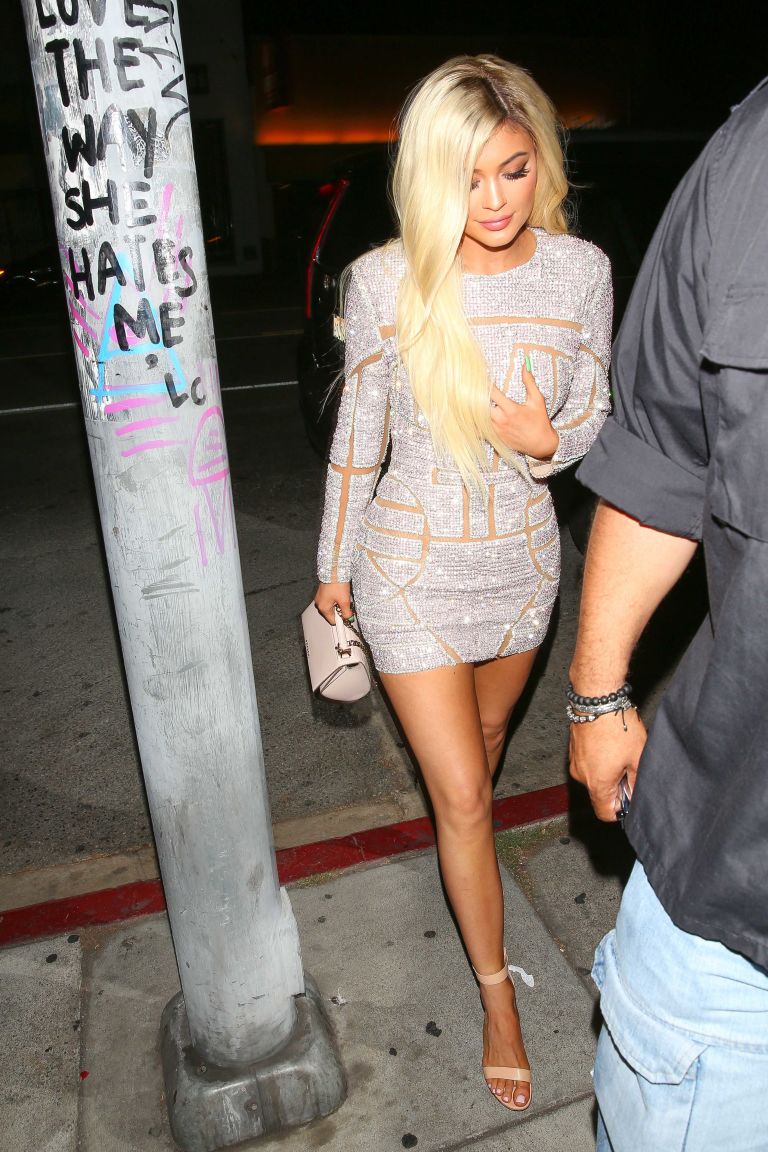
The beauty world has been blown away with the makeup looks of Kylie Jenner. Kylie is a sensation in the makeup world, from the pretty eye lashes to the sensuous pout – we adore her makeup techniques like anything. The Time Magazine has names her one of the “30 Most Influential Teens of 2015” and we know why! She has every flair to make any nude makeup look glamorous. We couldn’t be pleased when she revealed her makeup secrets and launched her own app named “Kylie” where she shares her life, makeup tutorials, etc. and revealing her endless passion for beauty and makeup. Very recently when she shared her makeup tutorial and the various tips and tricks, I was amazed how easy and fabulous they were! No wonder her skin looks flawless and refined in every flash photograph, photoshoot or even a simple selfie. I tried most of the tips and tricks she shared and I thought of penning down for my readers as well. Scroll down to know how Kylie does her makeup to look that extraordinary!
New Way to Apply Moisturizer
How do you use a moisturizer before makeup? Applying it with fingers and blending onto the skin, right? No! Kylie does it the other way. She applies the moisturizer with a brush (preferably, a duo fiber or stippling one) and blends in. she doesn’t let a single patch of area, no matter how small or insignificant, gets away without moisturizer. In this way, you can ensure that the skin is thoroughly moisturized and there is no room for dry patches when we would apply the foundation. It is also easier to blend and set well on skin.
Eye Makeup before Base
Okay, so we have been doing this all wrong. Every time I try to get all decked up, I finish off the base and move to eye makeup. Well, Kylie and her makeup artist explains why the eye makeup has to be done first. This is because there is a lot of things that can go wrong while doing eye makeup. For example, fall out issues, too much product on the lower lash line, smeared gel liner, mascara smudging, etc. hence, when the eye makeup is done, we can easily move forward with the base, concealing or correcting anything that went wrong. Also, never apply foundation underneath the eye area. It is sensitive to creasing and when loaded with corrector, concealer, foundation and powder, it is more likely to crease. Simply use a concealer (or corrector, if need be) and set with a translucent powder or bake.
Eye Cream is a Must
Although she is extremely young and has very nice eye skin underneath, she swears by using an eye cream to hydrate the area. She has stated in numerous videos, write-ups and interviews that the beauty behind her makeup is moisturization. She believes that using an eye cream will prevent dark circles (sometimes caused by pigmentation from dryness), puffy bags, fine lines and wrinkles. Her favorite eye cream is Kiehl’s Creamy Eye Treatment with Avocado which works great for under eyes.
Contour Powder for Eyeshadow
Wow! That’s really a multi-purpose tip! I mean, imagine yourself splurging on a very expensive contour and also brown eye shadow for crease. Both the colors would be same and thus, we can easily to contour powder for eyes as well. We love her neutral soft brown eye makeup and soft brown cut crease eye makeup and no wonder, they look impeccable! I believe The Balm Bahama Mama Bronzer and NARS Laguna Bronzing Powder would be perfect for Indian skin tones.
Use a Scotch Tape
Yeah, you might think this is a beginner’s trick but when I saw that Kylie’s Makeup artist also uses this, I couldn’t believe! After applying the scotch tape (linking the end of lower lash and end point of brow), she used a brown contour powder for the crease and deepen it slightly with layering. Next, she applied a matte black eye shadow on the inner corner in the “V” shape a smudged it pretty well. After then, she took out the tape and voila! The edgy smoky eye is ready! This also creates a line for the winged eye liner to apply with ease.
Clumpy Lower Lash with Mascara
While we always hunt for mascaras that are least clumpy and use separate spoolie or cotton buds to prevent clumps, Kylie Jenner’s makeup artist explains that clumping on the lower lashes is good. It gives a natural smoky illusion to the lower lash by providing the little shadow underneath. Thus, you won’t have go again and again with the pencil brush or smudger to gives the smoky look which can be easily achieved through the mascara.
Illuminator before Foundation
Why haven’t anyone thought of that before! We love the dewy natural glow and that is the only reason we use the highlighter. Now, applying highlighter (powder or liquid) and blending it on the skin with the foundation on can be slightly tricky. It might also mess up the foundation and high chances are that, you would look like a disco ball if the strobing is done in excess. So, to get the natural (yet made up) dewy glow, apply the highlighter on bare skin and blend well. Now, apply the foundation and see the natural glow from within.
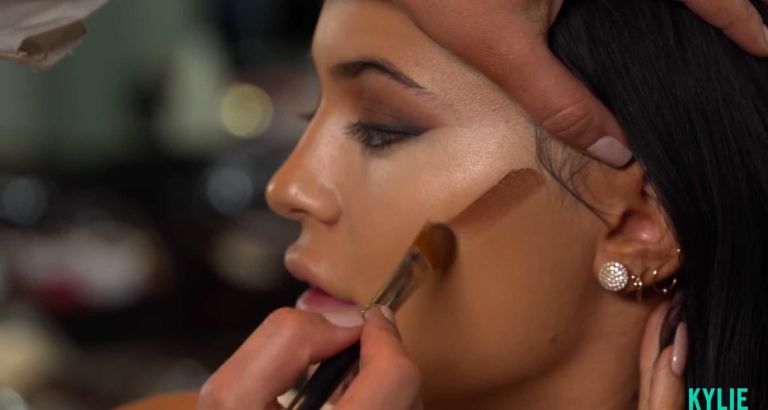
Contour with Darker Stick Foundation
We have seen that sometimes blending the contour power or cream is the toughest job on earth. Too much blending leads to a muddy look and messes up the base makeup as well. Therefore, instead of contour power or stick, use a foundation stick which is two shades darker than your skin and blend it in. In this way, the darker foundation will blend easily with the already blended foundation on the skin. There won’t be any patchy and uneven look and you won’t have to try too much as well.
Use an Orange Blush for Blush-Base
Have you ever heard that even your blush needs a base? Well, Kylie say so. Her MUA uses an orange blush before she applies a soft pink blush on her cheeks. Results? Warm and gorgeous! The orange color gives a basic warmth to the pink which will surely work like a wonder for Indian skin as well. It will help the blush to stay longer and smoother as well.
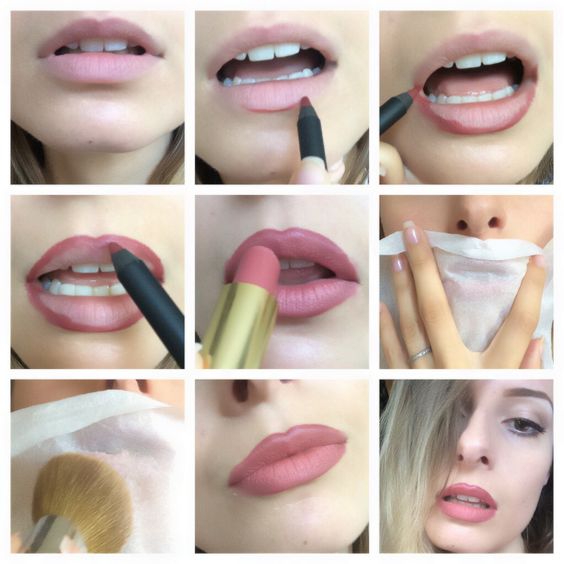
Always Use a Lip Liner
Her lips are as gorgeous as it can be. It is rumored that she spends around 40minutes to do her lip makeup and we can surely see what difference it makes. She suggests making the lip liner a Holy Grail for every lip makeup. Whether you are using a glossy, velvet matte, matte or liquid lipstick – never ever forget to line the lips first either with a neutral color or the similar color of the lipstick. Also, line the lips slightly above the natural lip line (don’t overboard it at all) and this will give an illusion of fuller lips. You can also add a dab of concealer of pale highlighter on the centre of the lip for the illusion.
Editor’s Note: Oo..that was a fabulous and much needed post Sanchita. I knew and followed 1-2 things but never knew all these tips, super helpful! Thanks a lot 🙂
So, let us know – which is your favorite Kylie Jenner makeup look?
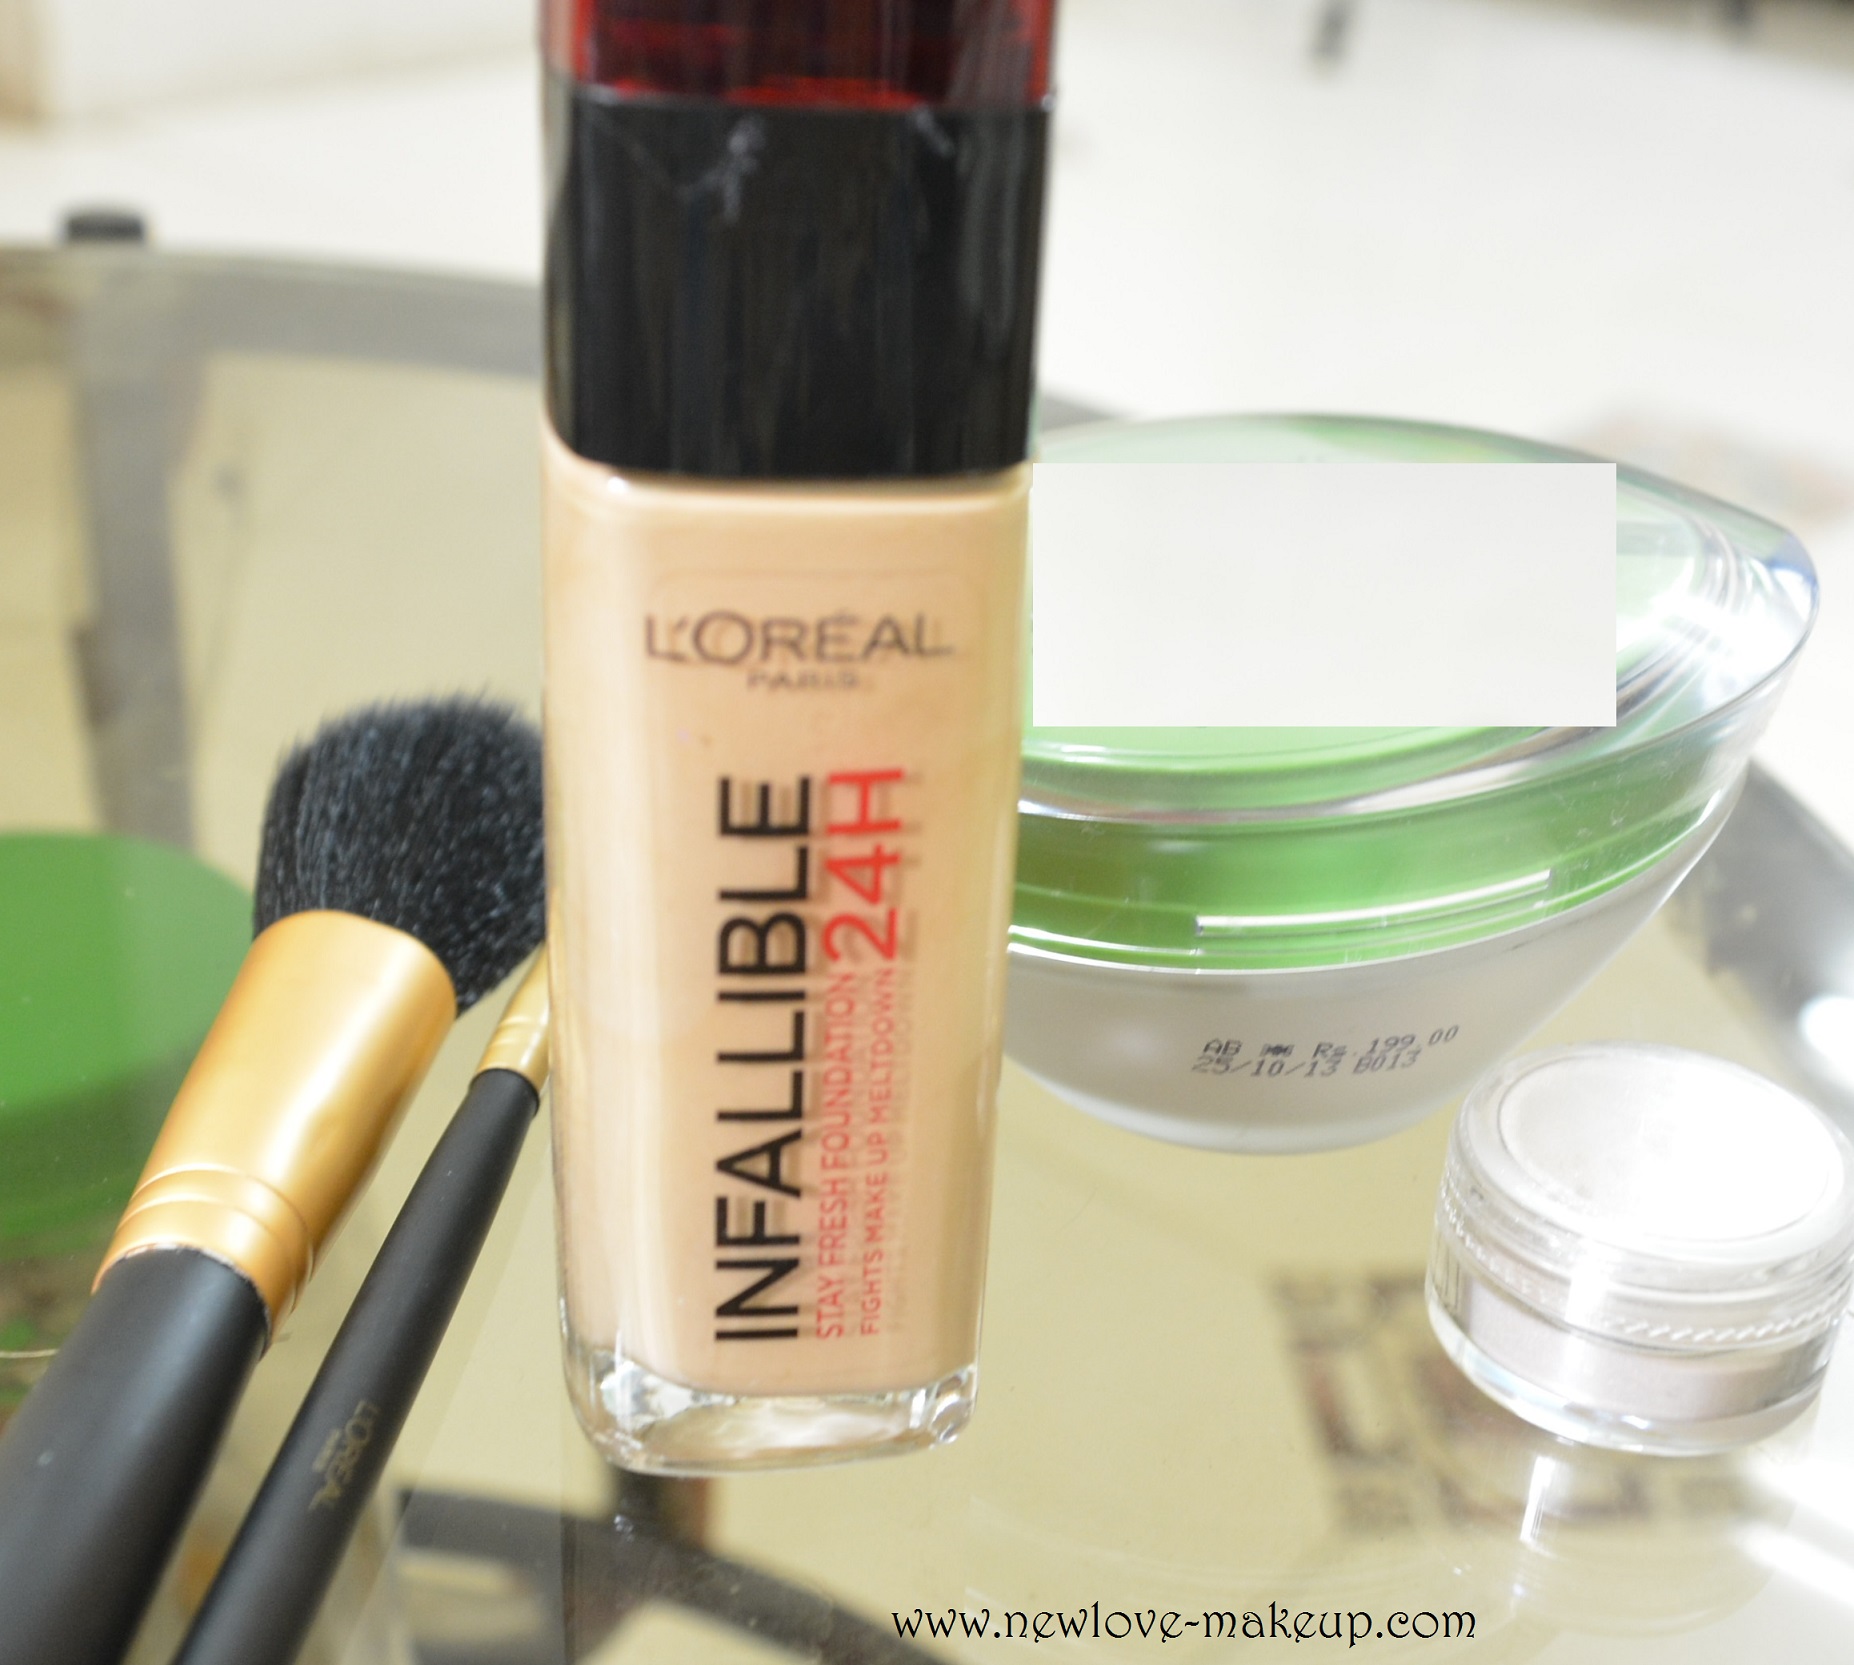
Dewy,Highlighted Makeup Tutorial feat. L’Oreal Paris Infallible Reno Liquid Foundation
Hi guys,
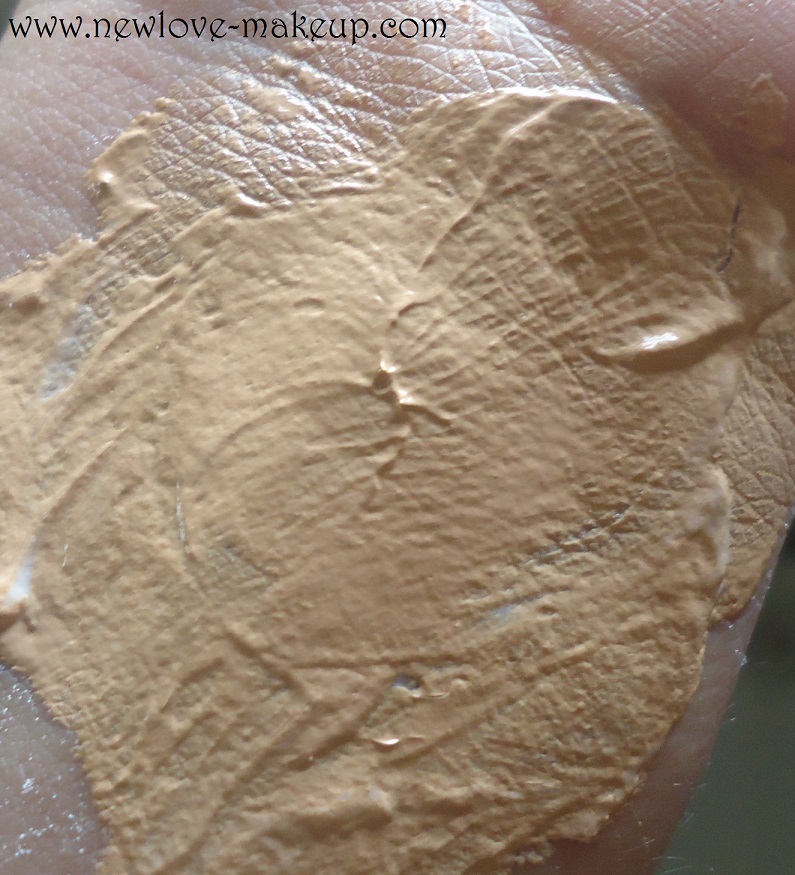
Remember I had reviewed the L’Oreal Paris Infallible Reno Stay Fresh 24H Liquid Foundation HERE, also showed the swatches and demo.
Today I am going to create a soft, dewy makeup look and also show you guys how and where exactly to highlight! Haven’t you heard Strobing is the new contouring! Oh yeah 😉 Well strobing is nothing but a fancy term for highlighting. I have always loved highlighting and I am crazy about highlighters. (I have tons of them from liquid to powder) I was never too much into contouring.
Basically, strobing can be achieved with a few simple tips:
1. Infuse your skincare & makeup i.e mix foundation with your moisturiser for a dewy,soft finish. Add a tiny amount of highlighter too. (liquid or powder)
2. Skip pressed powder except if you have very oily skin. Try using it only on the T-zone
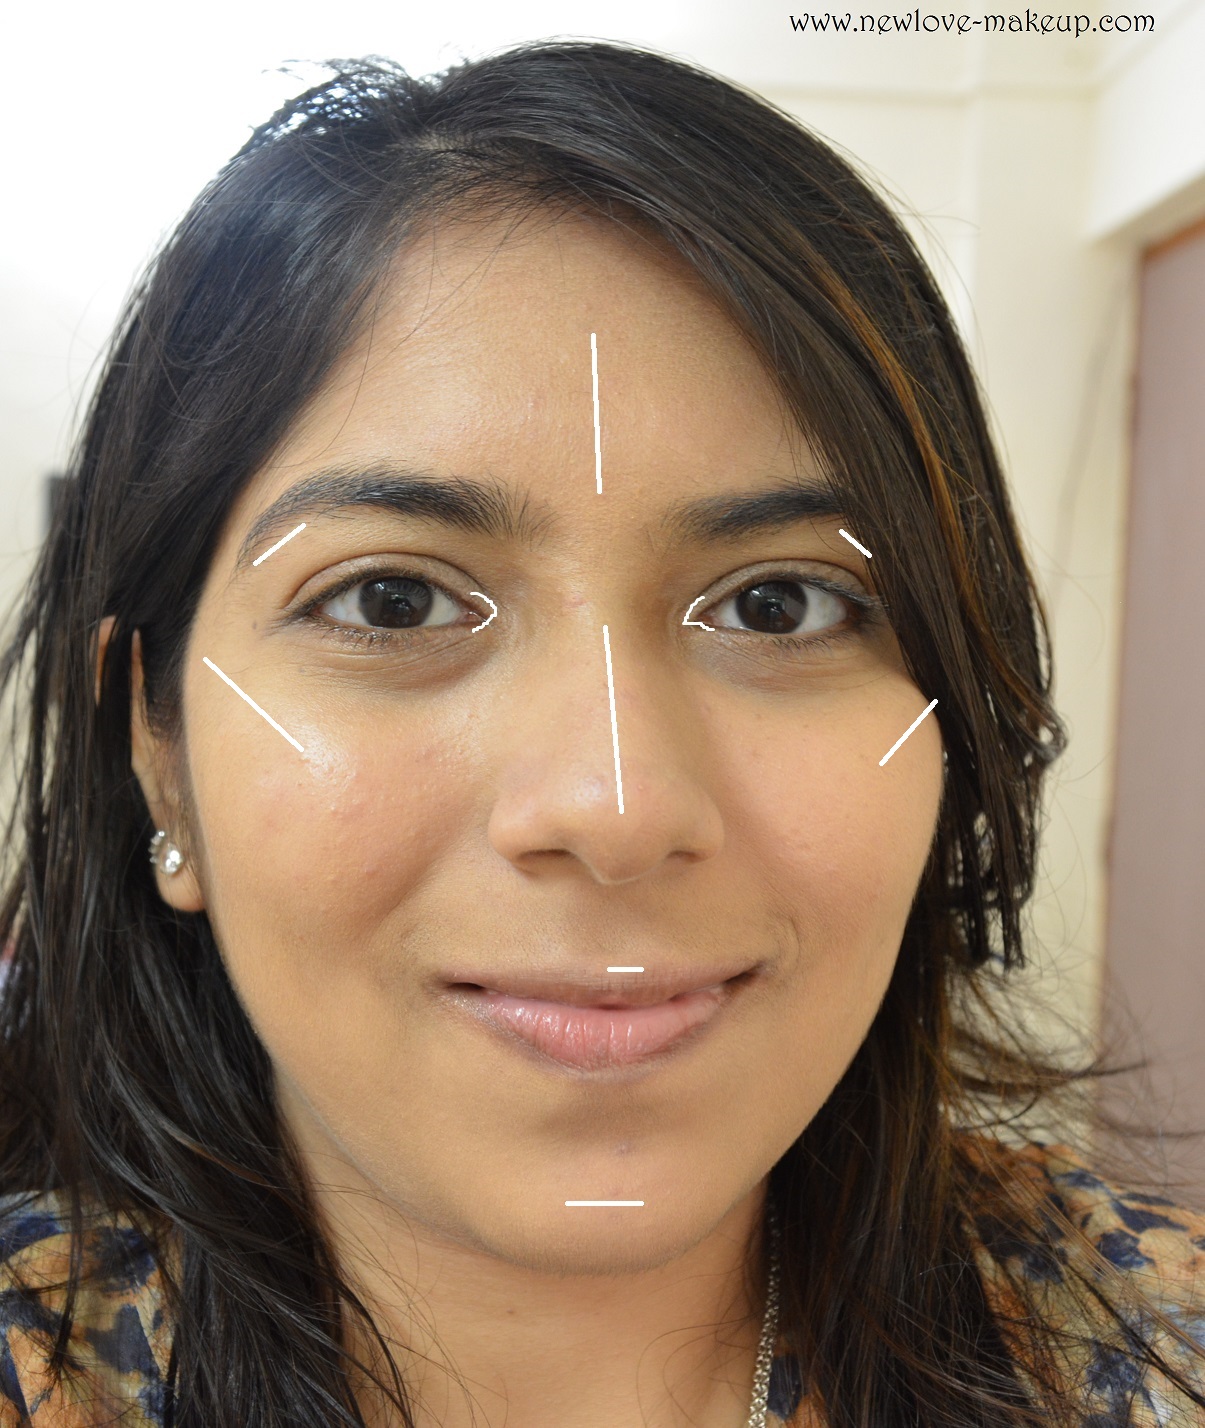
3. Highlight all areas where light naturally hits your face i.e. center of your forehead, brow bone,inner corners of eyes, center of your nose, high planes of cheekbones, cupid’ bow and the chin. See the pic below I have marked the areas. Go easy on the forehead and chin, usually just the residue in the brush.
4. Make sure to blend it all.
Let’s take it step by step:
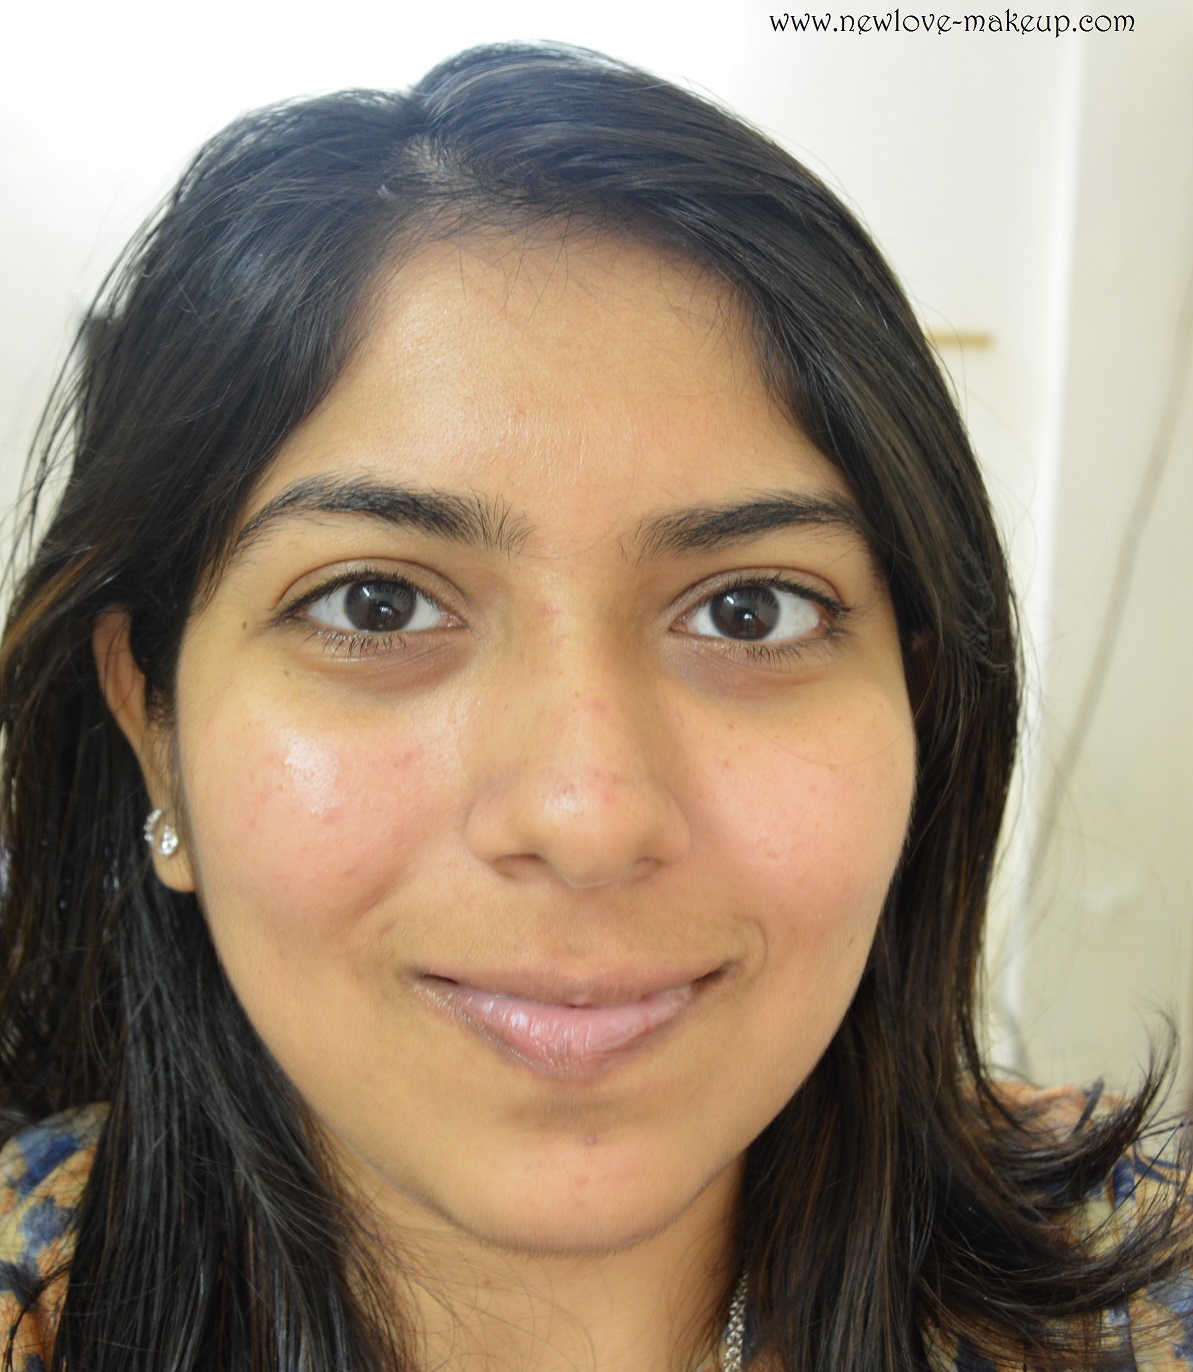
Step 1: A clean canvas. Cleansed face, free of anything. You can use a primer if you want your makeup to last longer.
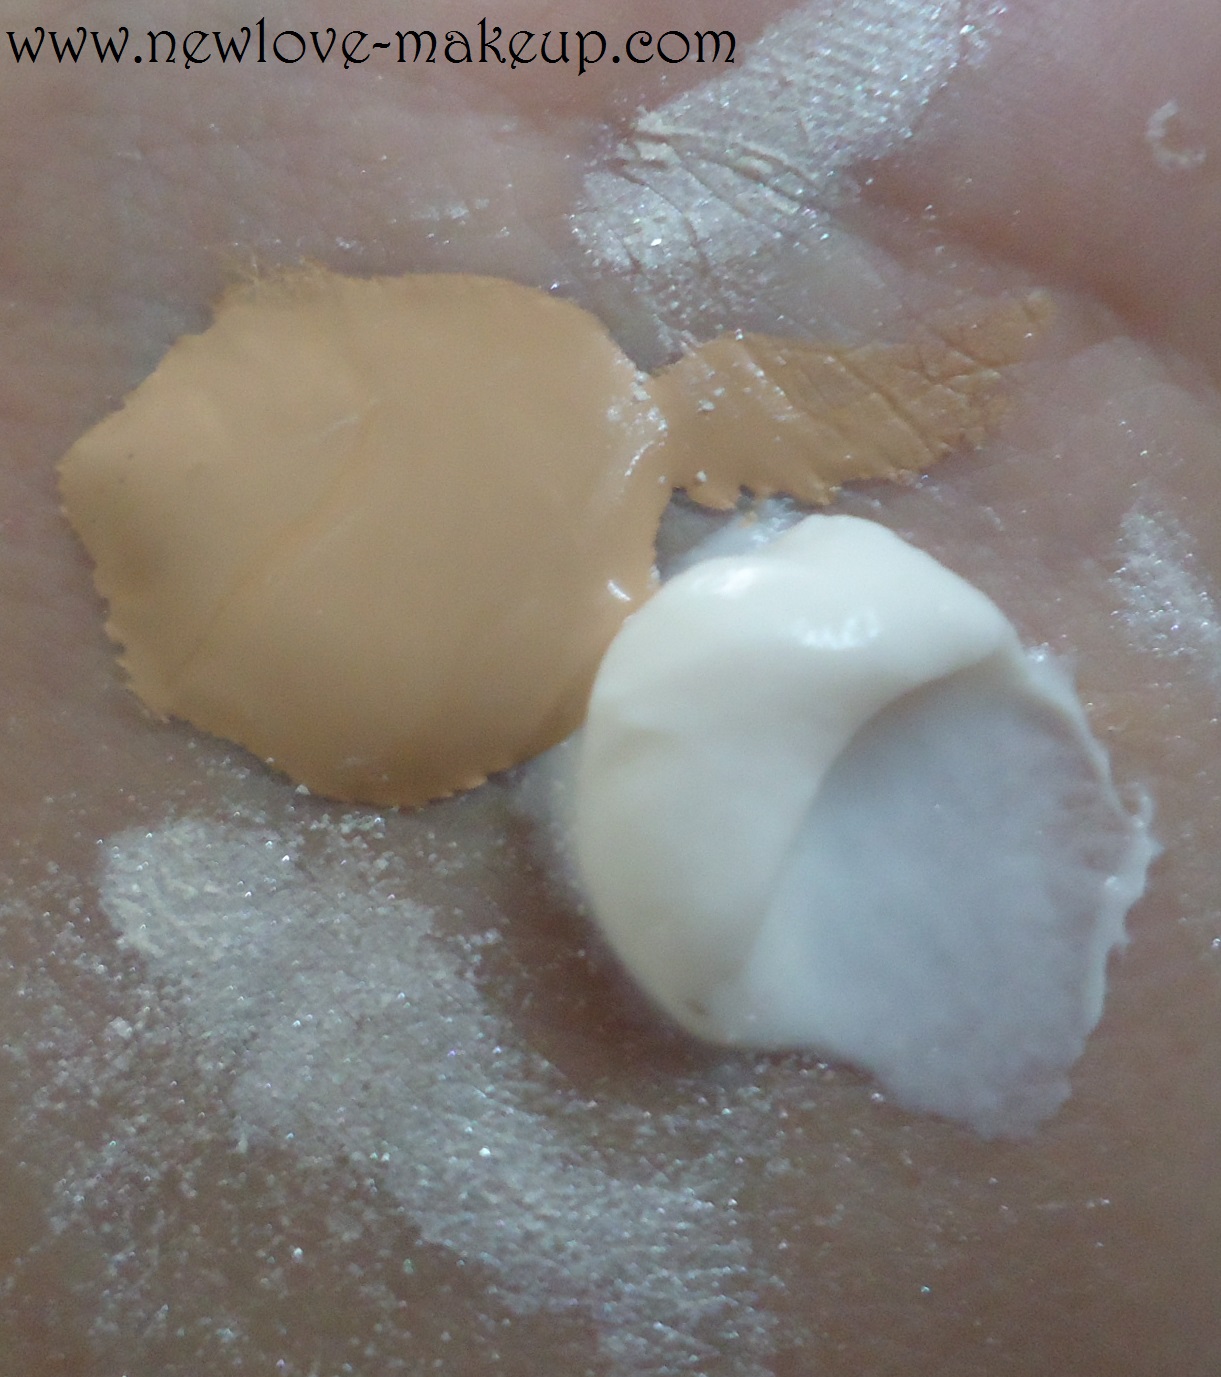
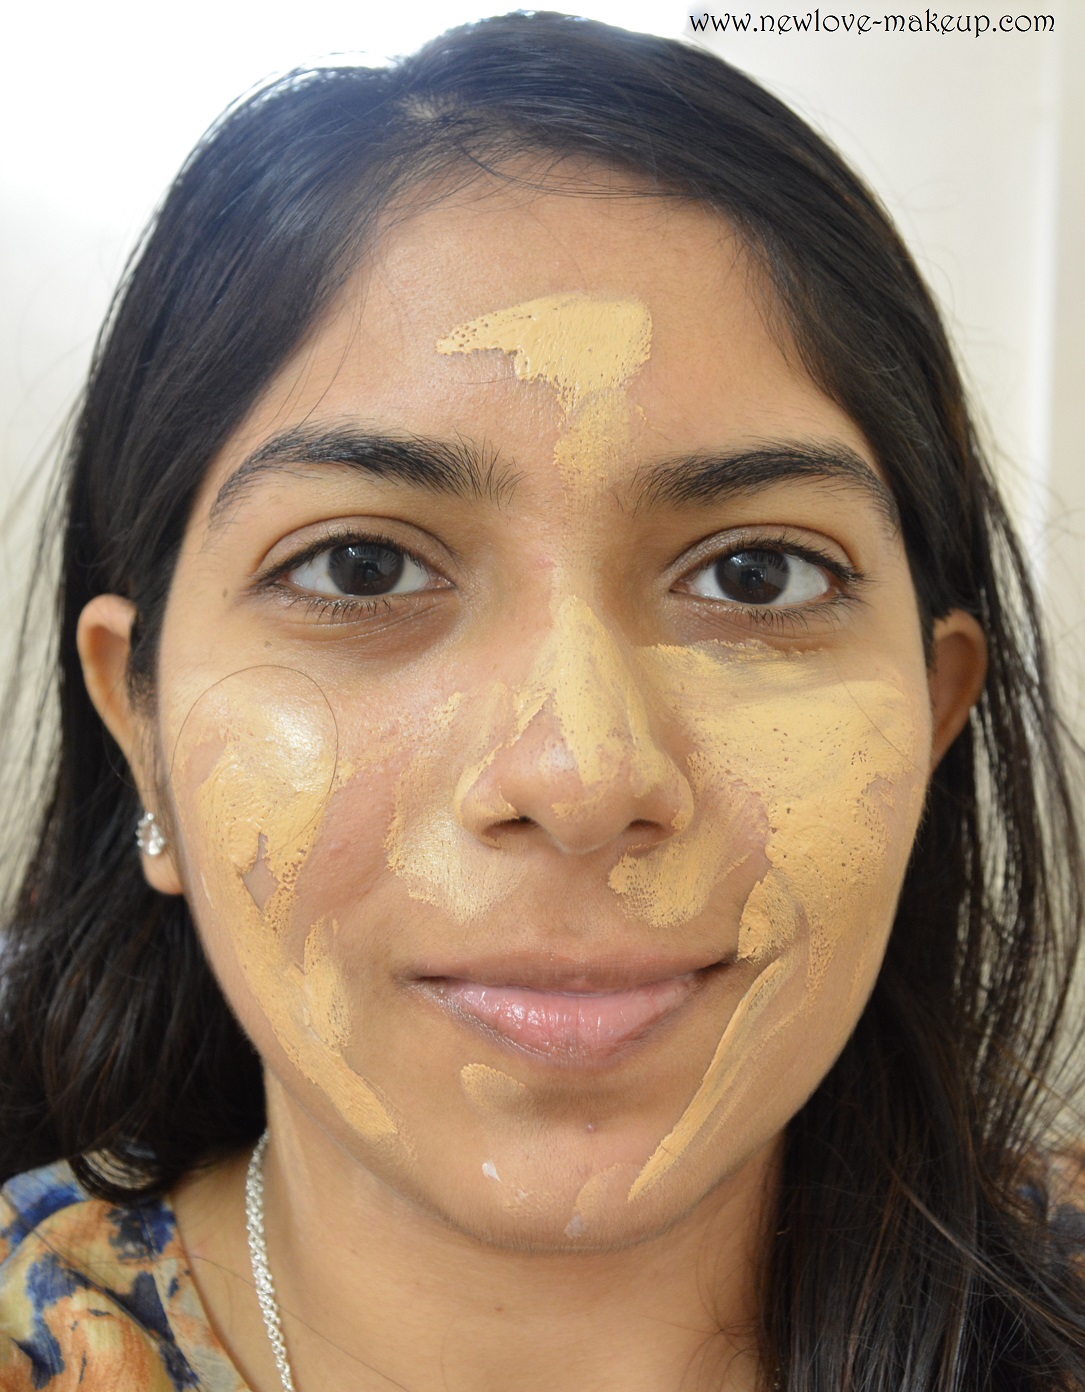
Step 2: Mix your foundation and moisturiser in equal amount, you won’t need a lot of foundation in this case. Add a tiny bit of highlighter. I am using a powder highlighter here.
Step 3: Dot it all over your face and blend it with a brush or your fingers.
Step 4: Apply a concealer on problem areas or to hide dark circles. I have skipped a concealer here.
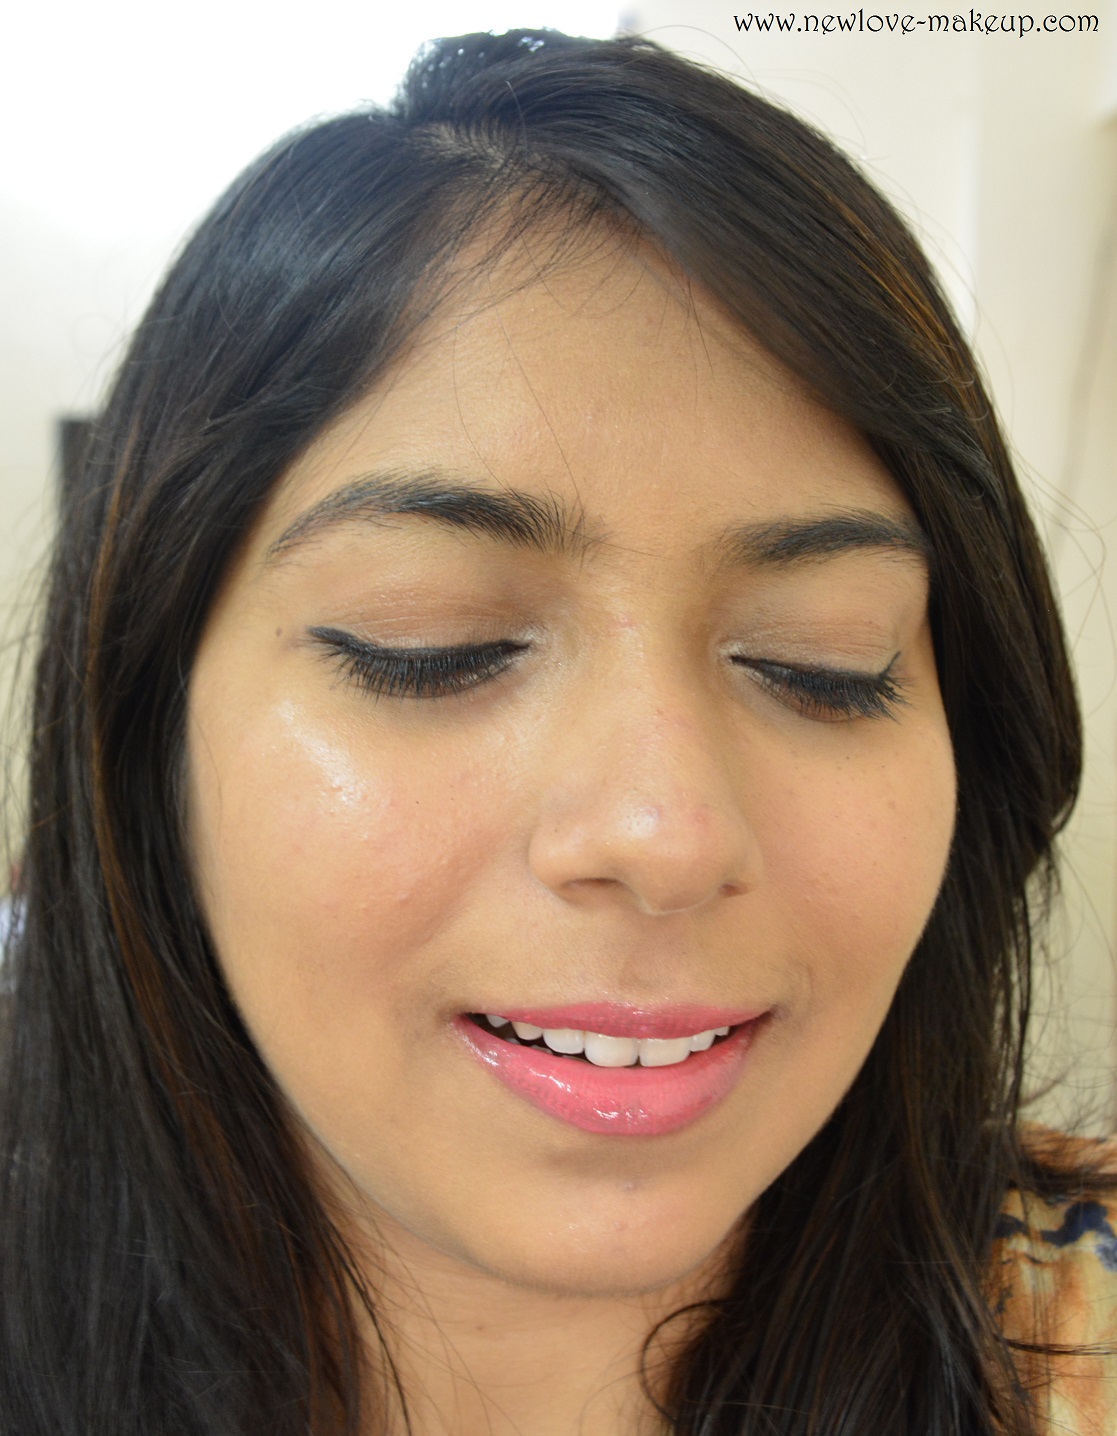
Areas to Highlight
Step 5: Highlight the areas marked here. Take very little highlighter on the brush at a time. Always tap the brush to get rid of excess and go slow as you can always add but not remove. Blend it all.
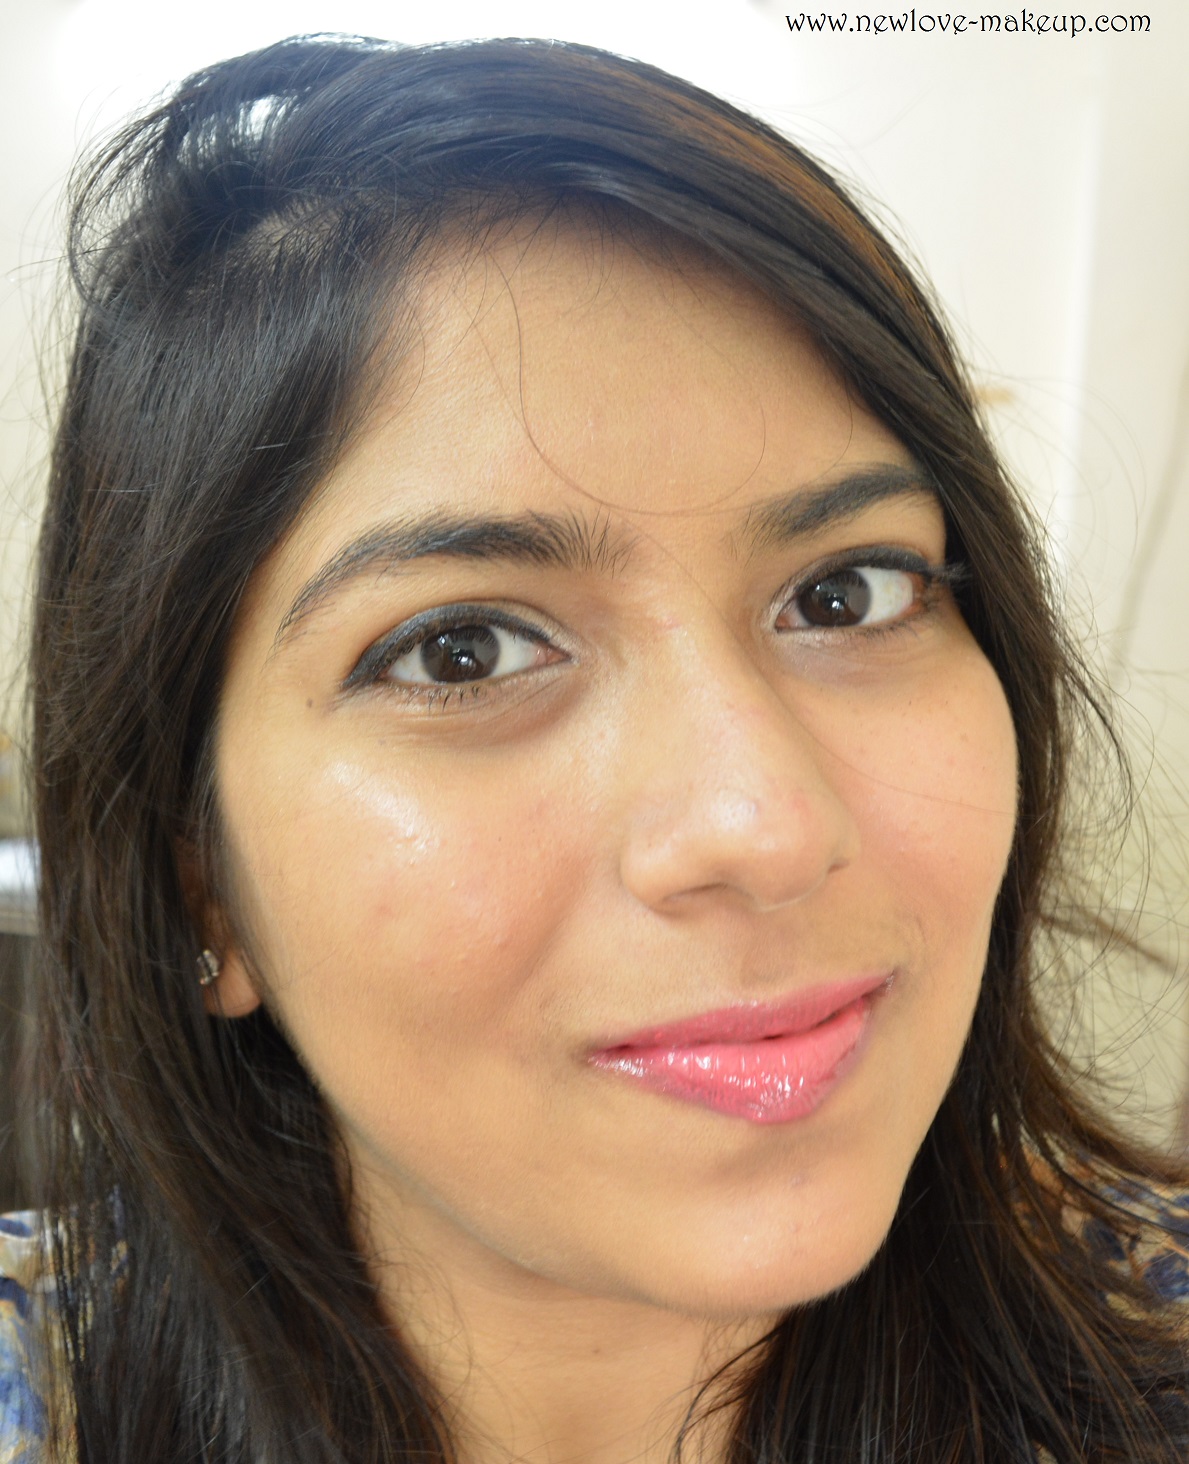
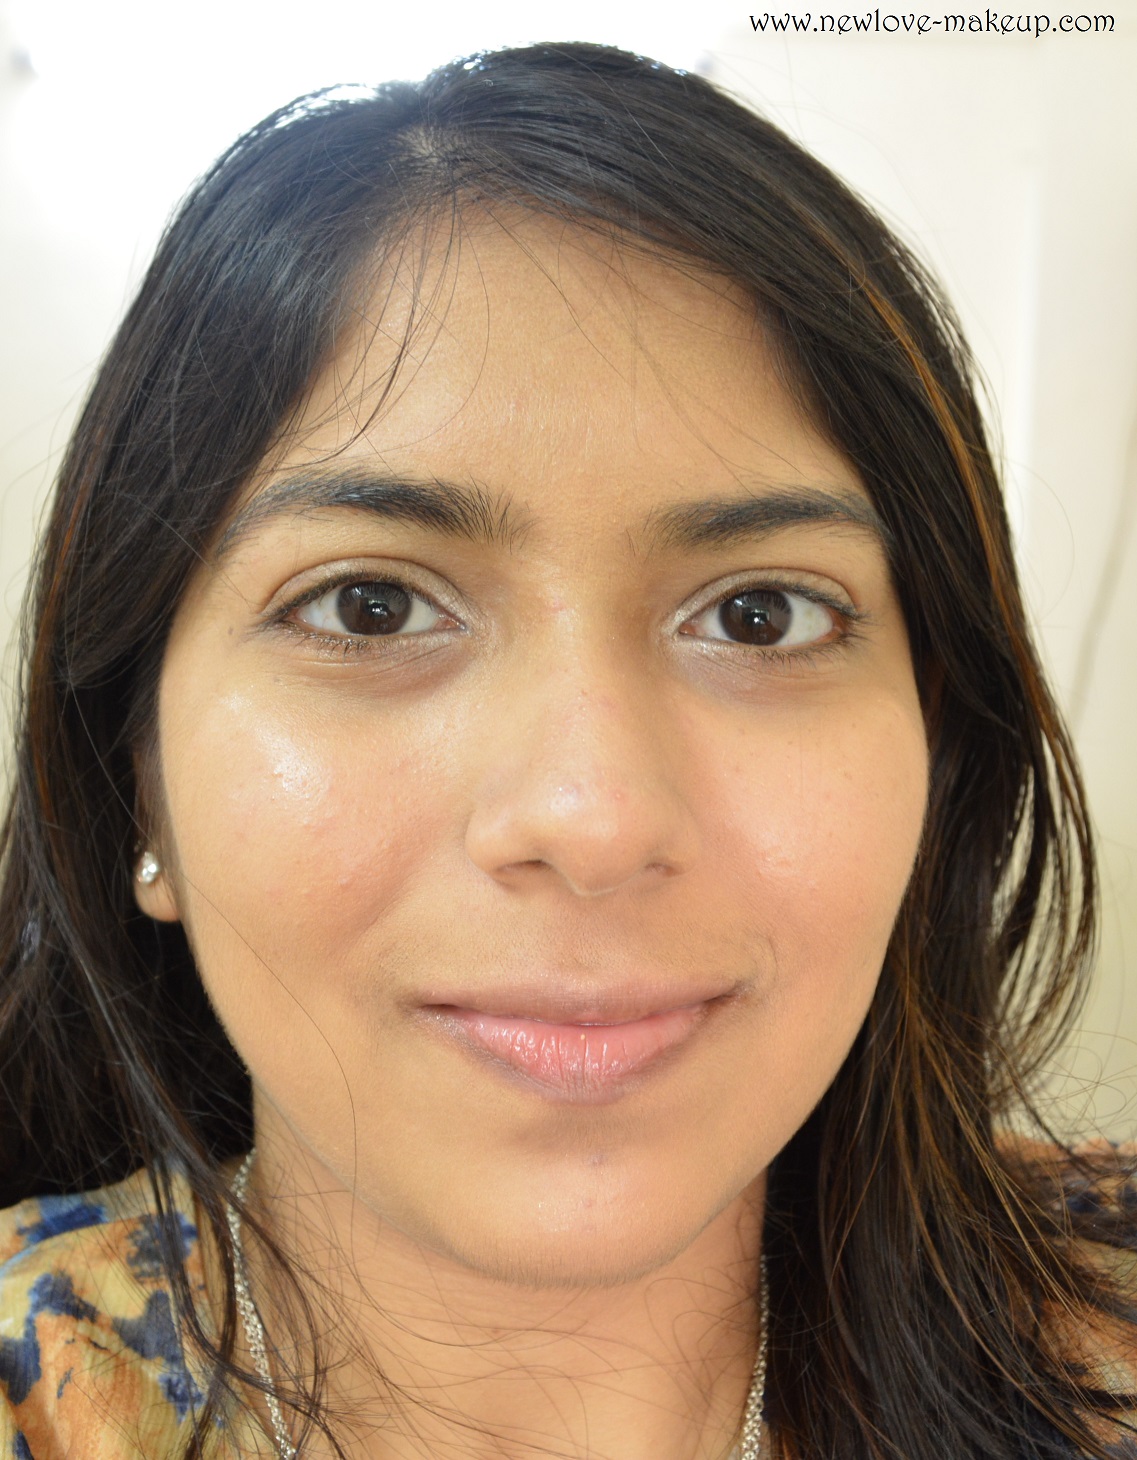
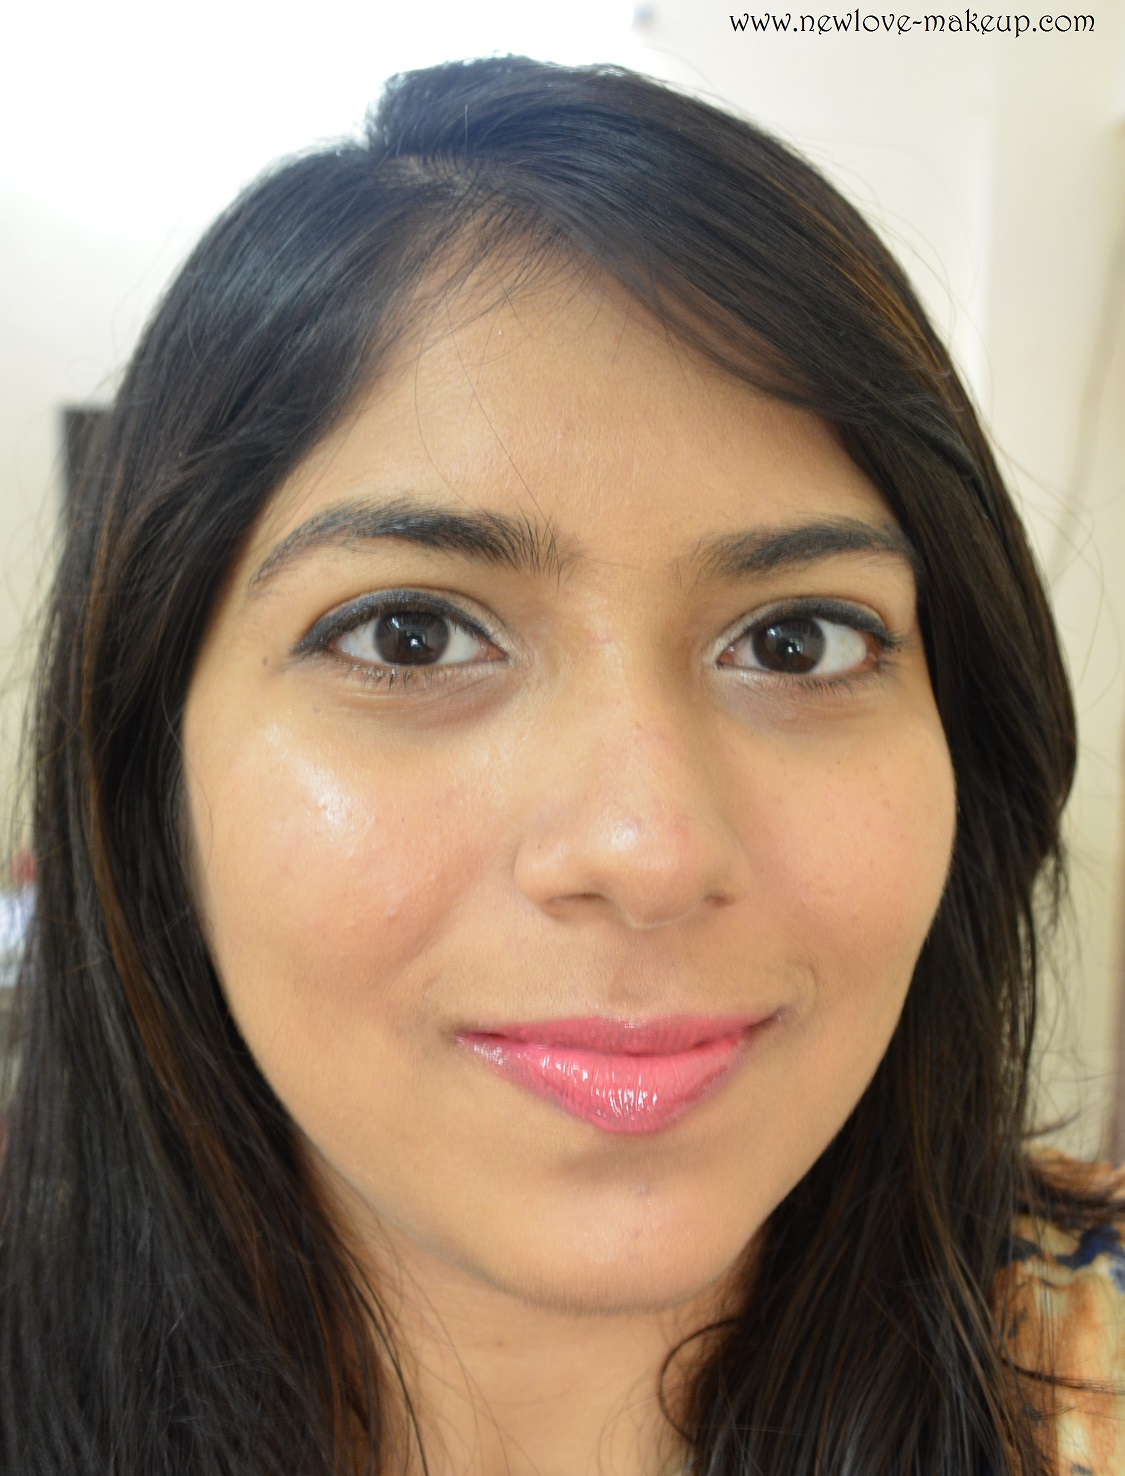
Step 6: The complete highlighted face 🙂
Step 7: Apply rest of your makeup. Eyeliner, lipstick and the usual 🙂 And tadaa..you are done!
Strobing also makes you look younger as the skin looks fresh and dewy. Do you like the final result? Its easy and can be achieved with just a few simple hacks. Let me know if you try it, and also share pics. Tag me on twitter or Instagram @bhumika_t
What do you think of Strobing? Do you like the ‘strobing’ trend?